Tech Tuesday is a weekly blog that addresses some of the most common questions and concerns that I hear throughout the previous week from users of BobCAD-CAM software. Both customers and future customers are more than welcome to leave a comment on what they would like to see covered for the following Tech Tuesday. Enjoy!
Machine Like A Wizard
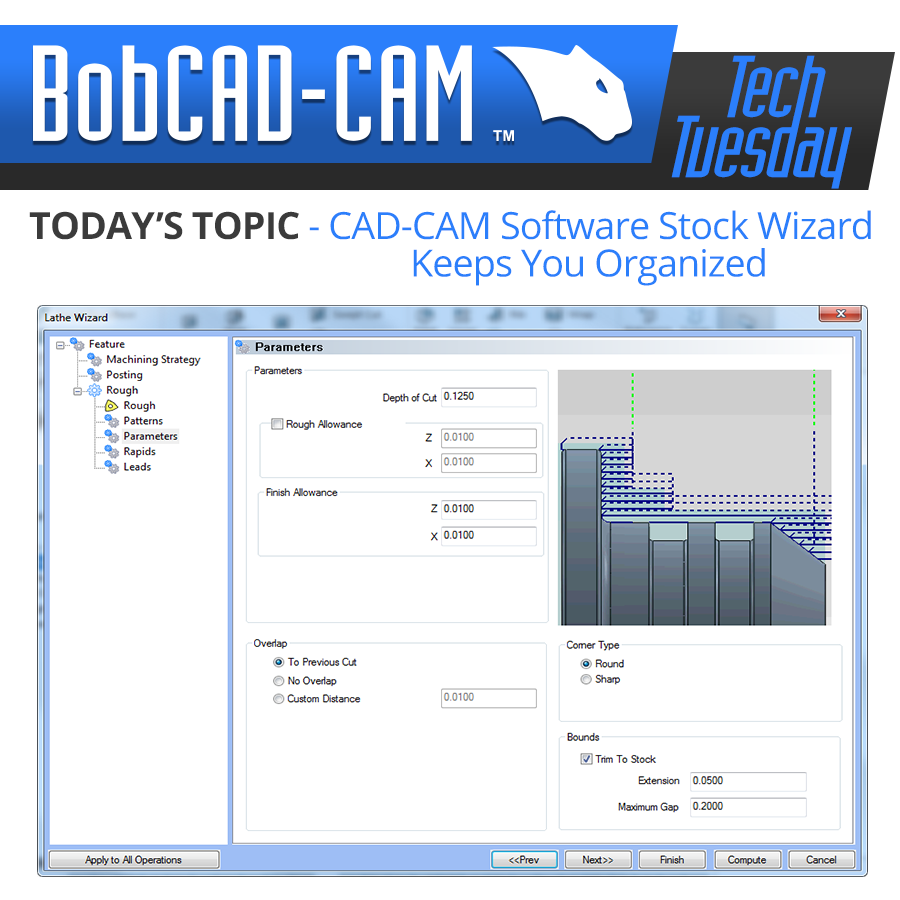
Wizards are a series of screens that guide the programmer systematically, step-by-step through a task. Wizards are used throughout BobCAD-CAM to keep things organized, provide a standard workflow and take the guesswork of what’s the next step in your programming process.
The Stock Wizard
BobCAD-CAM’s latest technology streamlines the stock setup process, no matter the orientation your geometry is drawn or imported.
The BobCAD-CAM Stock Wizard allows users to do the following:
- Use different types of stock shapes
- Use existing geometry for stock definition
- Align ‘Stock To Part’ geometry
- Add additional stock independently in X, Y & Z
- Pick the part origin for the machine setup location
- Choose the work offset ( G54, G55, G54, etc… )
- Define machine clearance plane
CAD-CAM and the Stock Setup Process
Let’s take a look at how CAD-CAM software addresses the stock setup process. This will vary by product, but the same general concept applies. Every CAD-CAM product should have a Material Database and a method that allows the programmer to quickly establish the stock for the part while creating a job.
- Material Database
- Stock setup procedure
Modern CAD-CAM products are much different from their early predecessors. Early CAD-CAM products were wireframe based and relied on line and arc type geometry to establish Toolpath. Advancements in CAD-CAM afforded users more flexibility in setting up the part’s stock. Most CNC software has the ability to set up stock based on the following:
- Drawn geometry
- Basic shapes; cylinders, squares, cones, etc…
- Existing wireframe or solid model geometry
- An imported STL file
Additionally, the software can automatically detect the boundaries of your solid model part file and use that information to set up stock. Without that ability to set up stock information, programmers would be guessing far too much. Rather than having to position CAD geometry around a fixed zero position, the software should provide flexibility to enable fast and accurate setup of the stock for the part. Importing a stock STL file type has its benefits. Example being a casting, where the use of an STL stock during simulation might show errors between the machined part versus the exact STL stock model. This saves users a ton of time, reduces waste and automates NC programming greatly.
Subscribe to BobCAD-CAM's Tech Tuesday Blog
Join your fellow machinists. Get the latest Tech Tuesday CAD-CAM articles sent to your inbox. Enter your email below: Running the Stock Wizard
Before you can create any Toolpath, users must first run the Stock Wizard to establish the material and the machine setup location. Keep in mind that many of BobCAD’s Toolpaths are stock aware, so establishing stock is much more than just providing the material size and shape that’s used in simulation.
Step 1
Choose your stock type. You have 6 types for your stock shape, the most common are rectangular stock and cylindrical stock. Users can also choose a wireframe boundary, a solid model, an STL or even a revolved profile. No matter what type of stock you choose, BobCAD optimizes the workflow in the next step of our wizard.
Step 2
The software will automatically detect the minimum size of stock needed to machine your part. Users can modify the “bounding box “ stock size for both cylindrical or rectangular stock type types. Adding additional stock needed to hold the part can be added using the offset options for X, Y and Z. If your stock geometry doesn’t align with your part geometry, stock orientation tools are there to make sure everything matches up.
Step 3
In the final phase of the stock setup is when the programmer chooses his part origin location. This “zero” position has to perfectly match the part origin setup at the machine. Programmers can choose from our standard UCS locations or pick from the automatically created point locations on the top, middle and bottom at every corner of the part. In the Machine Setup phase, you have the ability choose which work offset and a clearance height used for the NC code. Thank you for reading another Tech Tuesday; see you next week!

Start your Test Drive.
Have questions? Call us at 877-838-1275.
You’re one click away from subscribing to BobCAD’s YouTube channel. Click the link below for tips, how-tos and much more!


Leave a Reply