The Point Intersection function is used to create a point at the intersection of two wireframe entities. To perform the function, you select the two entities in the graphics area, and the point is automatically created at the intersection of the two entities. This topic explains how to use the function.
1 In the File menu, click New.
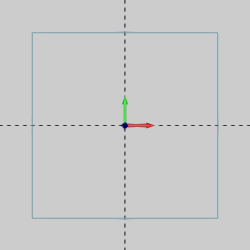
2 In the Other menu, click Rectangle.
The Rectangle parameters display in the ![]() Data Entry tab of the Data-CAM Tree Manager.
Data Entry tab of the Data-CAM Tree Manager.
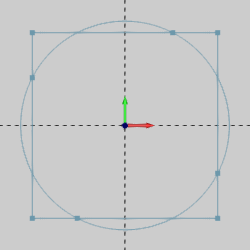
To create the default rectangle as shown in the CAD preview, click OK.
3 In the Arcs menu, click Coordinates.
4 In the Data Entry tab, change the Radius value to 1.125, and press Tab to update the CAD preview.
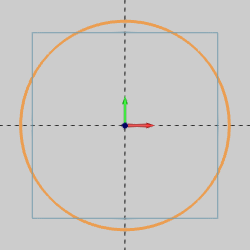
To create the arc as shown in the CAD preview, click OK.
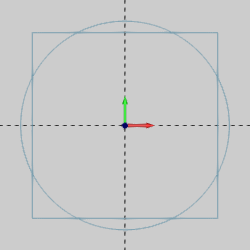
5 In the Points menu, click Intersection.
In the graphics area, point to left vertical line of the rectangle so that it displays in the Highlight color.

While the line displays in the Highlight color, click to select it.
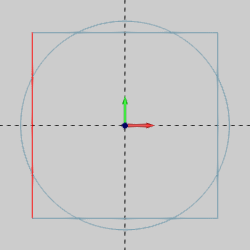
Notice that the line changes the Selection color.
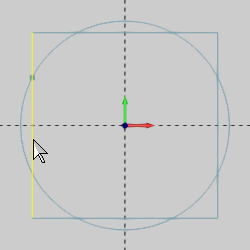
6 In the graphics area, click to select the arc.
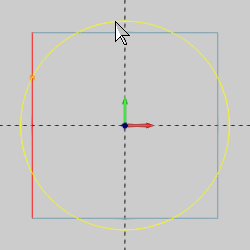
Notice in the previous image that the CAD preview displays the point when you point to the second entity.
The point is created at the intersection of the line and the arc.

NOTE: When selecting geometry for the Point Intersection function, you do not need to confirm the selections. The point is automatically created when you select the second entity.
7 Repeat this process. This time select both the vertical line and the horizontal line at the top of the rectangle.
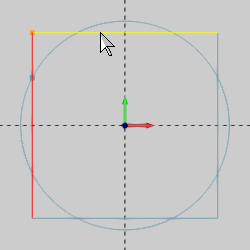
A point is created where the two lines meet.
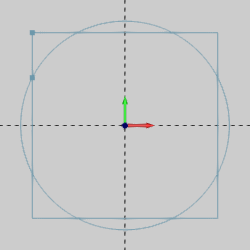
You can repeat this process for as many points as needed.
8 To end the function, click Cancel.
TIP: When using the Point Intersection function with entities that contain more than one intersection, you can perform the function more than once to create a point at each intersection. In some situations, it may be helpful to first break the entities. For example, with a line that intersects a spline in more than one location, you may want to use Break Many to break all of the entities. This makes it easier to then place points at all of the intersections.
This concludes the example.