When preparing to create Multiaxis toolpaths, you must check the surface normal direction of the part to assure that the toolpath is created on the proper side of the surfaces/faces.
1 To show the surface normal direction, in the View menu, click Surface Normal.
You can also press N to hide or show the surface normal.
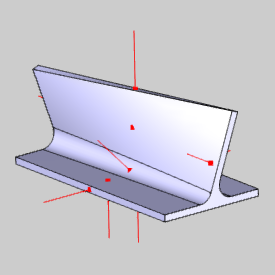
The following image shows a part that has three faces with incorrect normal directions. (These are the floor face, the vertical wall face, and the face on the right-end of the part.)
2 To change the normal direction, in the Utilities menu, click Reverse Surface Normal.
3 In the graphics area, click to select each face/surface that has an incorrect normal direction.
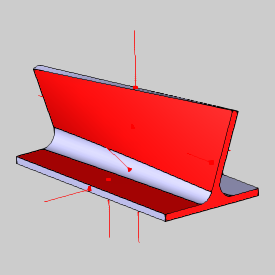
4 To
confirm your selections, right-click anywhere in the graphics
area, and click  OK.
OK.
You can also press Spacebar.
When you confirm the selections, the normal direction is reversed for each selected face.
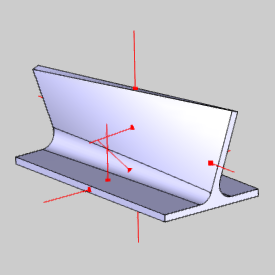
Notice the new direction of the normal for each of the selected surfaces compared to the original directions. The surface normal must show (point out and away) from the side that is being machined.
5 To cancel the function, in the Data Entry tab, click Cancel.
This concludes the example.