Open a new graphics area by selecting New from the File menu, or click on the New icon on the File toolbar.
Click on the Sphere icon on the Solids toolbar or select the Sphere function from the Solids menu.
The Data-CAM Tree Manager will be populated with fields for user input.
Input 1.0 for the Radius.
In the Origin field, left click on Enter.
Then input 0.0 for X and Y, and -1.0 for Z.
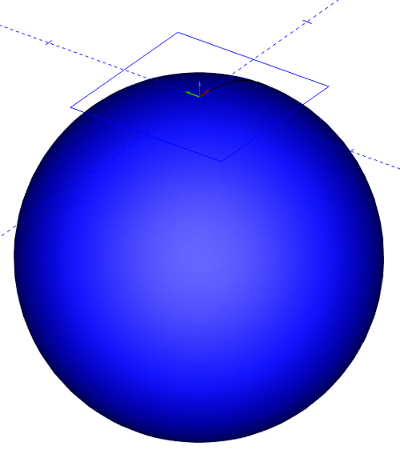
Click OK to create the sphere.
In the View menu, point to Views and click ISO2 to place the view in a 3 dimensional mode.
Click on the Rectangle icon on the Other toolbar or select the function from Other menu.
The Data-CAM Tree Manager will be populated with fields for user input.
Input 1.0 for both the Length and Width.
Click on the Sharp Corner button in the Corner Type group.
In the Origin field, click on Enter and input 0.0 for X, Y and Z, and also select Center from the drop-down box. Click OK to create the rectangle.
Click on the Curves(s) Projection icon on the Other toolbar, or choose Project Curves to Surface from the Other menu.
BobCAD-CAM will automatically be placed in selection mode. Press and hold the left mouse button and drag a box around the rectangle. Release the mouse button and the rectangle will highlight.
Right click anywhere in the graphics area and choose OK from the menu that will appear.
Click on the sphere, and BobCAD-CAM will project the rectangle onto the sphere.
Click on Break Surface in the Surfaces menu or choose the Break Surfaces icon on the Surfaces toolbar.
Click on the sphere in the drawing.
While holding the Shift key on the keyboard down, click on the rectangle that's been projected onto it. (To make it easier to select, press S to turn Shading off. Or, in the View menu, click Shaded. Press S to turn Shading back on.)
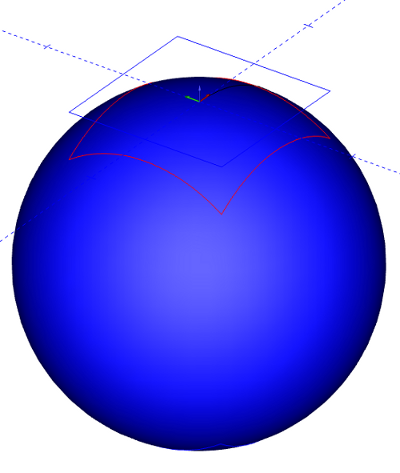
Right click anywhere in the graphics area and choose OK from the menu that will appear. The sphere will be broken in 3D following the shape of the curve.
To end this function, right click anywhere in the graphics area and choose cancel from the menu that will appear, or click Cancel in the Data-CAM Tree Manager.
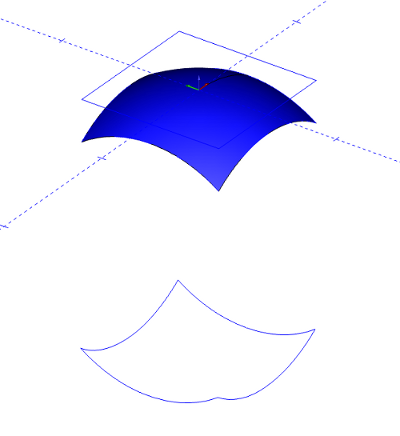
To see the broken surface better, we delete the large part of the sphere. In the Edit menu, click Select Mode. Point to the center of the sphere and click to select it. Press Delete, or in the Edit menu, click Delete.
Click on Untrim Surface in the Surfaces menu or choose the Untrim Surfaces icon on the Surfaces toolbar.
Click on the surface left over after the break function.
The sphere is returned to its original natural boundary.
To end this function, right click anywhere in the graphics area and choose cancel from the menu that will appear, or click Cancel in the Data-CAM Tree Manager.