Reverse Contour Direction
Example 1
This topic explains the steps to reverse the direction of an existing
contour entity. An additional example explains how to reverse the direction
of a contour while you are creating it.
- With an existing contour entity in the graphics area, in the Utilities menu, click Reverse
Contour.
- The Data Entry tab contains only a Cancel button for the Reverse
Contour function.
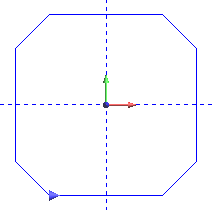
- In the graphics area, point to the contour entity so that is changes
to the Highlight color.
- Click to select the contour (the color of the contour changes to
the Selection color).
- To confirm the selection, click
 OK.
(You can also press Spacebar.)
OK.
(You can also press Spacebar.)
- The direction of the contour entity is reversed.
To
finish the function, click Cancel.
Example 2
You can also change the direction of a contour entity while it is being
created.
- After creating a contour, with the Contour function still active,
point to the contour entity in the graphics area.
- Click to select the contour, and press Delete.
The contour entity is removed from the original geometry.
- Change the Direction (CW
or CCW), and select the original geometry again.
- To confirm the selection and create the contour, click OK.
- To finish the function, click Cancel.