 Spline Blended
Introduction
This topic will explain the differences between the various spline types, and explain the options found in the spline functions. This topic will also give brief description of the Snap Increment function, will describe where to find the function, provide quick steps on how to use it, and provide links to related topics.
The Spline Blended Function
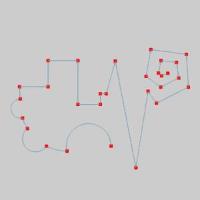
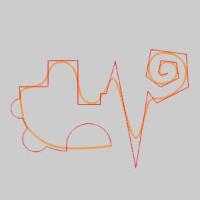
Splines are designed to produce a smooth curve between a set of selected points. Spline creation can be accomplished by selecting snap points or coordinates using the mouse position when the Sketch/Single Picking mode is used, or by selecting multiple entities at once with the Multi-Picking mode. When using the Multi-Picking method, other entities are selected for spline creation. In these cases, though, it is the end, or middle snap points that are actually used. In the image below, a chain of several different entities is used as an example.
|
Geometry used for selection |
|
End Points |
|
Middle Points |
|
|
|
|
|
|

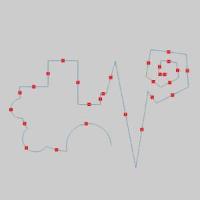
When creating a spline, whether points are selected individually, or whether multiple entities are selected at a time, the points that are used for the creation of the spline (shown above) are usually referred to as Knots. Once the spline has been created, you can still edit it by selecting it, and choosing Entity Modify. What appears at that point, are the control Points. Clicking on one of the control points will allow you to adjust its position manually and see the preview update in real time to see how the spline will be affected, should you confirm those changes.
|
Generated Spline (Blended) |
|
Knots (Creation Points) |
|
Control Points (Modification Points) |
|
|
|
|
|
|


Snap Increment
This function support the use of the snap increment when selecting the location of the entities. The snap increment allows you to get precise results when using mouse selection and helps to reduce data entry modifications.
To learn more, view Snap Increment.
Navigation
To open Blended:
-
In the Entity group of the Create 2D ribbon, click the down arrow under
 Spline, and select
  Blended.
The parameters display in the Data Entry Manager.
Note: Whether you click the main icon, or the down arrow to get to the other options, you will have access to the same options in the Data Entry Manager.
Spline Types
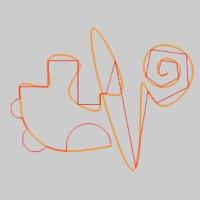
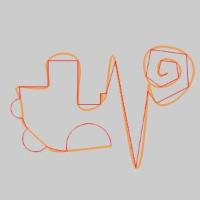
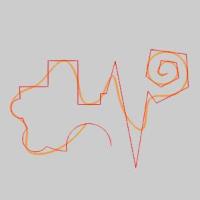
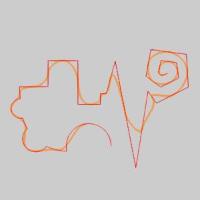
When the Spline function is open, many Spline Types are available to you. In the images below, you will see how each Spline Type reacts with a given set of points.
|
|
|
|
|
|
|
|
|
|
|
|
|
|
|
|


Points From Mode
These options will determine how the knots for the spline will be selected.
-
 Sketch/Single Picking
- With this method, knots will be selected one at a time, by clicking
in empty space, or by hovering over an entity and selecting one of its
snap points.
Sketch/Single Picking
- With this method, knots will be selected one at a time, by clicking
in empty space, or by hovering over an entity and selecting one of its
snap points. -
 Multi-Picking - With this method, many
knots can be selected at the same time, by window picking existing entities.
Multi-Picking - With this method, many
knots can be selected at the same time, by window picking existing entities.
Option
When the Multi-Picking method is used, and geometry has been selected, this group becomes available. By default, the end points of the selected entities are used as the knots for the spline. This group will allow you to change the result by forcing the spline to utilize the center snap points as the knots instead. See the images below for an example.
- Use End Point - With
this method, knots will be created from the snap points on the end of
the selected entities.
-
Use
Middle Point - With this method, knots
will be created from the snap points in the middle of the selected
entities.
|
|
|
|
|
|
|
|
|
|
|
|
|
|
|
|
|
|
|
|
|
|
|
|
|
|
|
|
|
|
|
|


Point List
The Point List displays all knots selected for the creation of the spline. This will allow you to select an entity and delete it from the list, or even alter its order in the spline creation when the Sketch /Single Picking mode is being used.
Point List
|
|
|
| The list box will list the entities currently selected for the function. | |
 (Delete All)
- removes all entities from the list.
(Delete All)
- removes all entities from the list.
- OK - finalizes the function.
- Cancel - exits the function.
Quick Steps
-
Select the BlendedSpline
Type.
-
Select a Points From
Mode option.
-
Select the knots for spline creation.
-
If Multi-Picking is used with entities other than
points, chose an Option.
-
Modify the Point List as necessary.
- Click OK to finalize the spline.
Related Topics