Sculpting Example 1
Introduction
This help topic explains how to use the Sculpting feature on embossed models. When using Sculpting, the mouse functions as a brush with which you can use a single-click or a click and drag method to add to, remove from, or smooth the model surface.
Example File
The BobCAD part file for this tutorial is available for download at: http://www.bobcad.com/helpfiles. If you are connected to the Internet, you can click the link provided to download and save the Sculpting Example 1.bbcd zip file. After downloading the zip file, extract the files on your system in a place that is easy to remember. You can then open the BobCAD file (.bbcd) to use with this tutorial.
In the example file provided, an Emboss from Image feature has already been created. After working with the file, some unwanted artifacts were created in the emboss. In this example, you learn how to use Sculpting to clean up these areas of the model.
The currently defined feature used in this example is shown next.
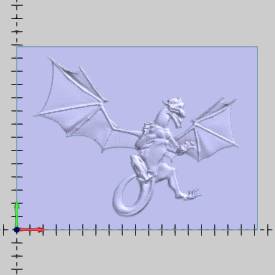
Part 1) Open the Example File
-
in the Quick Access Toolbar, click
 Open.
Open. -
In the Open dialog box, select the folder in which you extracted the example file.
-
Select Sculpting Example 1.bbcd, and click Open.
-
In the BobART Manager, next to
 Emboss Model,
click
  to expand the tree. Notice that the
  Image Emboss feature already exists.
Part 2) Add the Smoothing Feature and Deposit Material
-
In the
 BobART
tree, right-click
  Emboss Model, and click Sculpting.
The Sculpting parameters are displayed in the Data Entry Manager.
Note: When the Sculpting feature is active, the system automatically reduces the model resolution slightly to help improve system response during the sculpting operation. You may or may not notice the minor visual difference, and the resolution is returned to the defined value when you click OK to finish the feature.
-
In the Method group, select Deposit. This adds material to the model.
Confirm that the Diameter is set to 0.250 and the Strength is set to 0.050. -
In the graphics area, point to a flat area of the model and click once.
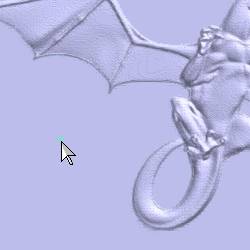
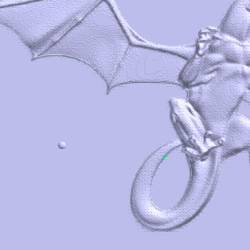
The amount of material created by the single click is exactly what was specified by the Diameter and Strength parameters. The material is deposited (added) with a 0.250 diameter and a height (in Z) of 0.050. -
In the same area of the model, click and drag with the mouse slowly from left to right, and then release the mouse button.
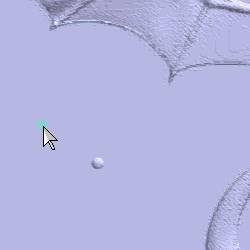
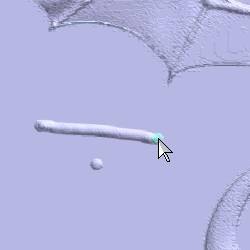
When dragging the brush, the amount of material deposited is still based on the Diameter and Strength parameters, but the speed at which you drag and how many times you drag over the same area determine the result of the sculpting. -
Drag the brush in a small circular pattern on the model.
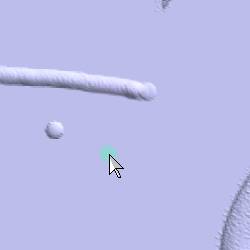
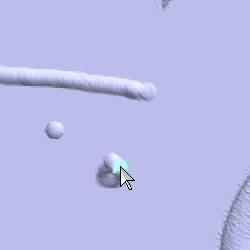
When you rotate the view of the model, you can see that more material is added each time you drag over the same area. (A spike of material is created on the model.)
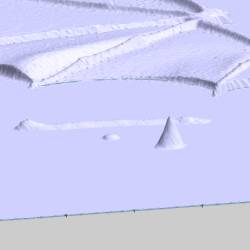
Tip: When using Sculpting, generally you should use the Top view, although it is not required. (You can press Ctrl+1 to set the Top view.)
You should experiment with dragging the brush until
you become comfortable with its use.
-
In the Data Entry Manager, click Undo Last Operation multiple times until all of the deposited material is removed. (Pay attention to what operations are removed each time that you click undo.)
Part 3) Remove Material and Use Keyboard Shortcuts
The Remove option is the opposite of the Deposit option as it removes (subtracts) material from the model. In this part, you perform the same actions as in Part 2. This time you use keyboard shortcuts to adjust the Sculpting parameters.
-
In the Data Entry Manager, select Remove.
-
Click once on a flat area of the model. The amount of material removed is equal to the Strength and Diameter values.
-
On the keyboard, press the Up Arrow key while viewing the Strength box in the Data Entry tab.
Continue pressing Up Arrow until the Strength is around 0.100. (The Up and Down Arrow keys modify the Strength.)
Press Right Arrow while viewing the Diameter box in the Data Entry tab. Continue pressing Right Arrow until the Diameter is around 0.500. (The Left and Right Arrow keys modify the Diameter.)
Tip: In addition
to the keyboard shortcuts explained in the previous step, you can also
use the Shift and Ctrl
keys with the middle mouse button to adjust the Strength
and Diameter values as follows.
• Strength
- press and hold Crtl
and scroll up or down to increase and decrease the value respectively.
• Diameter
- press and hold Shift
and scroll up or down to increase or decrease the value respectively.
-
Experiment with dragging the brush to remove material from the model (as explained in Part 2).
-
After experimenting, click Undo Last Operation repeatedly to return the model to its original condition.
Part 4) Smooth Material
In a similar fashion to the Deposit and Remove methods, the Smooth method uses the Strength and Diameter parameters to define the amount of smoothing and the size of the brush (respectively).
-
In the Data Entry Manager, select Smooth.
-
Set the Diameter to 0.500, and set the Strength to 0.250.
-
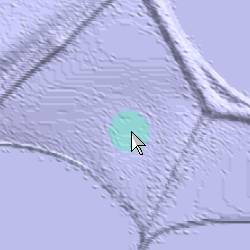
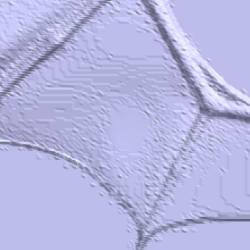
In the graphics area, point to the left wing of the dragon and click once.
-
In the same area of the wing, drag the brush to smooth the model appearance.
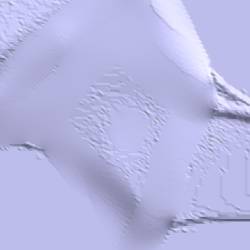
When dragging the brush with the defined parameters, you can see that too much smoothing is being applied. -
In the Data Entry Manager, set the Strength to 0.050.
Click Undo Last Operation so that the previous smoothing is removed from the model. -
Repeat Step 4 to smooth part of the wing.
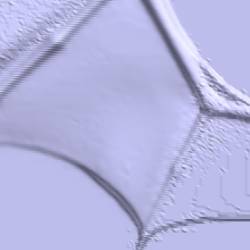
The strength setting is now more appropriate for the task. You can continue in this fashion to smooth the entire model if you like. However, when you have a large model that needs smoothing, you may want to use the Smoothing feature instead of the Sculpting feature. To learn more, view the Related Topics links at the end of the tutorial. -
For the final point of this tutorial, the smoothing is used to remove unwanted material from around the dragon as shown next.
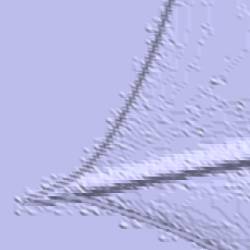
Drag the brush around the perimeter to remove the unwanted material.
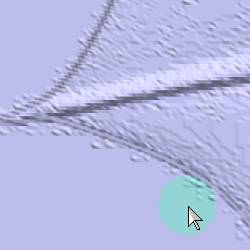
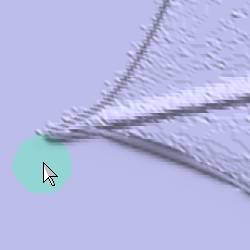
Remember that the speed at which you drag affects how much smoothing is applied.
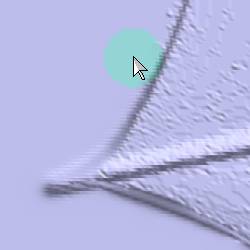
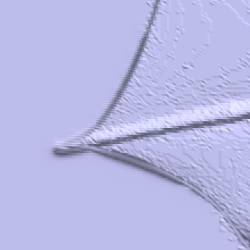
The result should appear as follows.
Part 5) Finishing and Editing the Feature
-
When you are done using Sculpting, click OK to return to the BobART tab.
The Sculpting feature is added to the BobART tree.
 -
To edit the feature, right-click
 Sculpting,
and click Edit.
About Regeneration
The changes created by the Sculpting feature are added to the model as you make them, so there is no need to Regenerate the model after using Sculpting (as is needed for other emboss features).
This concludes the tutorial.
