Emboss from Surface/Solid Example 1
Introduction
This topic explains how to create an Emboss from Surface/Solid feature. In this example, you learn three ways to handle the placement of the solid or surface on the model.
Example File
The BobCAD part file for this tutorial is available for download at: http://www.bobcad.com/helpfiles. If you are connected to the Internet, you can click the link provided to download and save the Emboss from Surface Example 1.bbcd zip file. After downloading the zip file, extract the files on your system in a place that is easy to remember. You can then open the BobCAD file (.bbcd) to use with this tutorial.
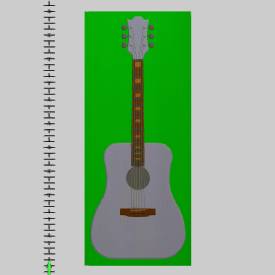
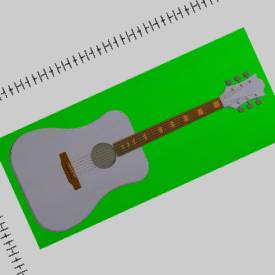
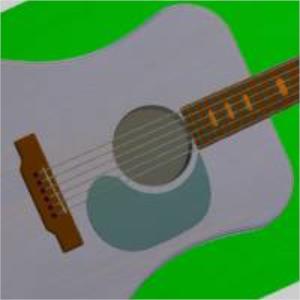
In this example, an acoustic guitar has already been created, and three features remain that are created using solid entities. The current condition of the model is shown next.
Part 1) Open the Example File
-
in the Quick Access Toolbar, click
 Open.
Open. -
In the Open dialog box, select the folder in which you saved the example file.
-
Select Emboss from Surface Example 1.bbcd, and click Open.
The file is opened, and the model is displayed in the graphics area. -
In the Data-CAM Tree Manager, click the
 BobART tab.
Part 2) Add the Feature (Use Current Position and Adjust the Height)
For the first feature in this example, a truss-rod cover is added to the model. For this feature, the geometry is currently located in the correct position in the XY plane, but it is not in the final Z-position. The bottom of the solid is at Z0. For this feature, the current position of the solid is used, and then the vertical (Z-axis) position is adjusted as needed.
-
In the
 BobART
tree, right-click
  Emboss Model, and click Emboss from Surface/Solid.
The Create Emboss from Surface dialog box is displayed. -
In the Emboss Attributes group, in the Name box, select the text and type Truss Rod Cover.
-
Confirm that the Application Type is set to Add.
-
Click Color. In the Color dialog box, click the color for the feature, and click OK.
-
To close the dialog box and add the feature to the
 BobART tree, click OK.
Part 3) Select Geometry and Edit the Feature
When the Create Emboss from Surface dialog box was closed, the emboss feature was added to the BobART tree. You use the Feature in the BobART Tree to select geometry and to edit the feature.
-
In the
 BobART
tree, under
  Trust Rod Cover, right-click
  Geometry, and
click Re/Select.
 -
To hide the embossed model from view, press E.
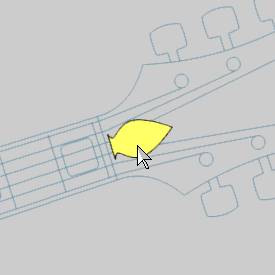
In the graphics area, click to select the surface for the feature as shown next.
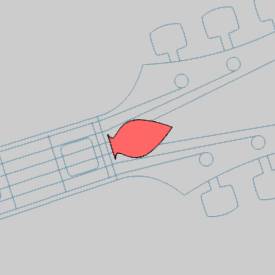
To confirm the selections, right-click anywhere
in the graphics area, and click ![]() OK. (You can
also press Spacebar.)
OK. (You can
also press Spacebar.)
Tip: When selecting geometry for an Emboss from Surface/Solid feature, you can select individual surfaces or an entire solid. The selection method shown in the previous steps only selected the top surface of the solid. This is done to show that (for this example) the same result can be created from the whole solid or just the top surface of the solid. Make sure to select the desired entities (whole solid or a single surface) when selecting geometry for the feature.
To show the embossed model, click anywhere in the graphics area (so that it has key focus), and press E.
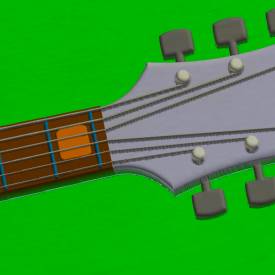
-
To edit the feature, right-click
 Truss
Rod Cover, and click Edit.
 -
In the Create Emboss from Surface dialog box, click Use Surface Position.
Notice that the XYZ values in the Origin group are automatically set based on the selected geometry. -
To close the dialog box, click OK.
Part 4) Regenerate to Update the Model
-
To add the feature to the model, right-click
 Emboss Model,
and click Regenerate.
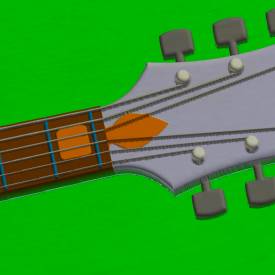
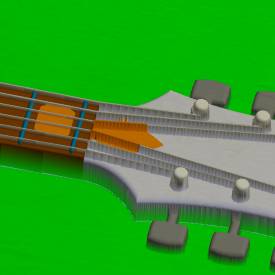
-
Notice, as shown in the second image, the feature is being added to the strings. This is the result of the Add application type. The cover needs added to the head stock but not the strings. For this, we change the application type and adjust the Z-height of the solid.
-
Right-click
 Truss
Rod Cover, and click Edit.
 -
In the Create Emboss from Surface dialog box, click the Application Type arrow, and click Merge High.
Because the solid (bottom) is located at Z0 and the application type is set to merge high, the Z-value of the origin must be increased to move the solid up to the proper level on the model.
In the Origin group, set the Z value to 0.725.
Click OK. -
Regenerate to update the model (as in Step 1).
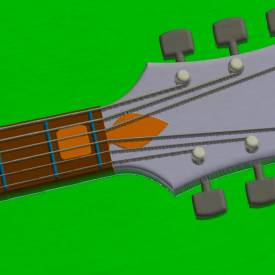
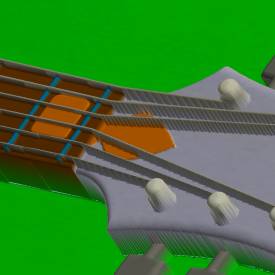
The first feature is now complete. In the next part of this tutorial, you emboss from a solid that is oriented in the graphics area in the exact location that it is needed for the model.
Part 5) Emboss from Solid Using the Exact Model Location
In this part of the tutorial, the solid for the feature is placed at the exact location that it is needed. By placing the solid geometry before creating the feature, less parameters need to be changed to create the desired result.
-
In the Layer Manager, right-click the layer name Nut, and click Show Layer.
The solid is displayed in the graphics area.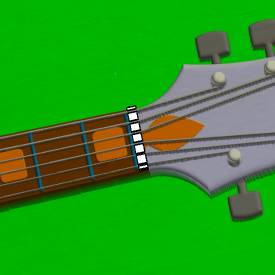
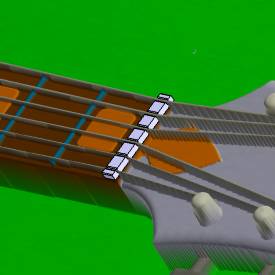
-
In the BobART tree, right-click
 Emboss Model, and click Emboss fromSurface/Solid.
 -
In the Create Emboss from Surface dialog box, click the Application Type arrow, and click Merge High.
In the Name box, type the name Nut Emboss.
Click Color.
In the Color dialog box, click a color for the feature, and click OK.
To close the dialog box and add the feature to the BobART tree, click OK. -
In the BobART tree, under
 Nut Emboss, right-click
  Geometry,
and click Re/Select.
In the Quick Selection group, of the Home ribbon, click Pick By Layer.
In the Select Layer dialog box, click Nut, and click OK.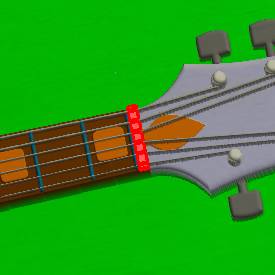
To confirm the selection, click OK. (You can also press Spacebar.)
 -
In the Layers Manager, right-click the layer name Nut, and click Hide.

-
Right-click Nut Emboss, and click Edit.
Click Use Surface Position. (The XYZ Origin values are automatically set.)
Click OK to close the dialog box. -
Right-click
 Emboss
Model, and click Regenerate.
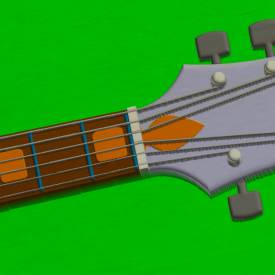
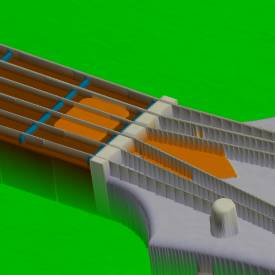
Part 6) Add the Third Feature - Use the Origin to Place the Solid
You may want to use a solid/surface this is at an arbitrary location in the graphics area. In this case, you can use the origin of the solid/surface to place the feature on the model. This is shown in this part of the example when a pick guard is added to the model. The location of the solid (pick guard) and the model are shown next.
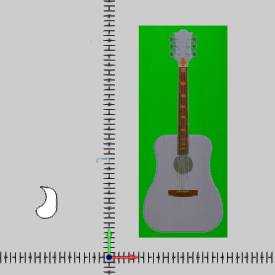
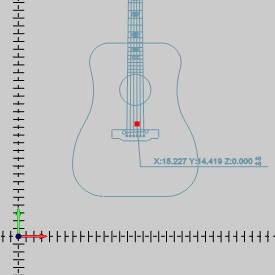
For organic shapes (or any shape), the origin is the lower-left corner of a bounding box drawn around the entity. The pick guard (solid) and its origin (red point) are shown in the next image.
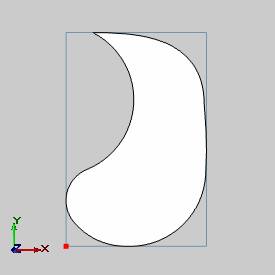
When setting the origin value of a surface/solid, the XYZ values of the (surface/solid) origin specify the distance from the WCS (world coordinate system). The origin of the pick guard on the model is shown in the next image.
-
Right-click
 Emboss
Model, and click Emboss from
Surface/Solid.
 -
Make the following changes In the Create Emboss from Surface dialog box.
In the Origin group, set the X value to 15.227, set the Y value to 14.419, and set the Z value to 0.750.
Click the Application Type arrow, and click Merge High.
Type the name and select a color for the feature.
Click OK to close the dialog box. -
Right-click
 Geometry,
and click Re/Select.
In the graphics area, click and drag a window to select the entire solid.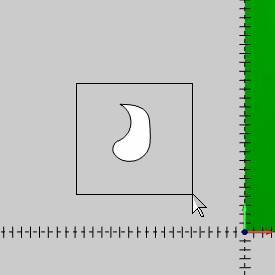
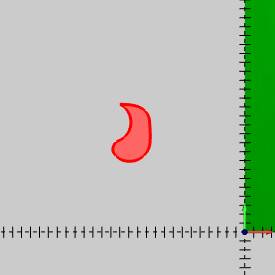
To confirm the selection, click OK.
OK. -
Right-click
 Emboss
Model, and click Regenerate.
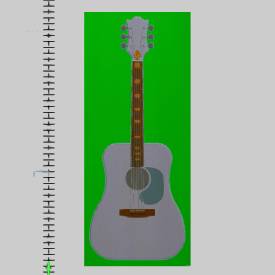
Final Note - Model Resolution
Be sure to view Adjusting Resolution for Emboss Models.
This concludes the tutorial.
