Emboss Cross Sections Example 1
Introduction
This example explains the process needed to use a custom cross section. You can apply the information in this example to use custom cross sections for your own models.
Example
Part 1) Example Setup Procedure
The following steps explain how to use a custom cross section after you have created stock and geometry for the feature.
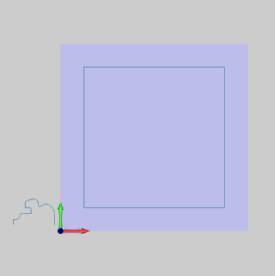
The stock and geometry for this example is shown next. The custom cross section geometry contains lines, arcs, and a spline. (The X- and Y-axes display is hidden to make it easier to view the geometry.)
-
In the
 BobART
tree, right-click
  Emboss Model, and click Emboss Regular.
 -
In the Emboss dialog box, click the Cross Section arrow, and click Custom.
Because there is only a single feature, the Add application type is used. -
To close the dialog box and create the feature, click OK.
The Emboss Regular feature is added to the BobART
tree.
 -
In the
 BobART
tree, right-click
  Geometry, and click Re/Select.
In the graphics area, click and drag to window-select the feature geometry as shown next.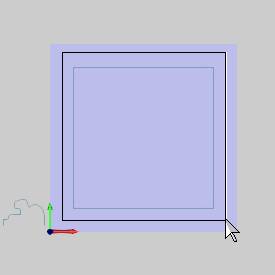
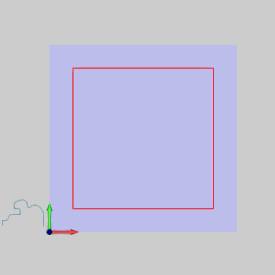
To confirm the selection, click OK. (You can also press Spacebar.)
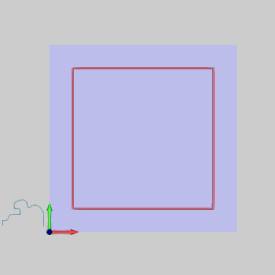
-
In the
 BobART
tree, right-click
  Cross-Section Geometry, and click
Re/Select.
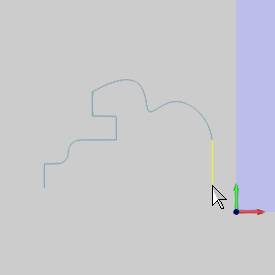
Tip: When you select the cross-section geometry, generally you should chain select (hold Shift and click) the entities to use. Using chain selection allows you to define the chain direction for the cross section when you select it. You can use other selection methods, but you have to set/confirm the chain direction (after selection) to create the desired result.
-
Press and hold Shift, and click the end of the chain in the graphics area as shown next.
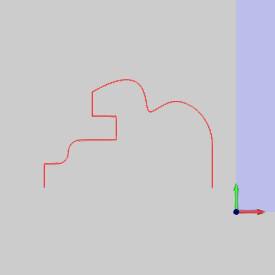
To confirm the selection, click OK.
OK.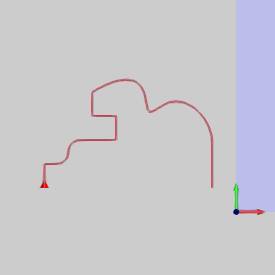
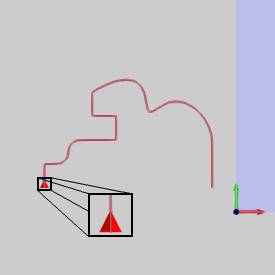
After confirming the geometry selection (because the Cross-Section Geometry feature item is still selected in the tree), you can see that the chain direction (shown by the red arrow) is from left to right. By chain selecting the entities, the direction was automatically set to the desired direction.
Note: For the Emboss Regular feature, the start point of the custom cross section is connected to the selected feature geometry. For all custom cross sections, the start of the chain is placed at the outside of the feature, and the end of the chain is the inside of the feature. For example, with the Emboss Swept, the end of the chain is adjacent to the feature geometry (not necessarily connected to it).
-
To create the model, right-click
 Emboss
Model, and click Regenerate.
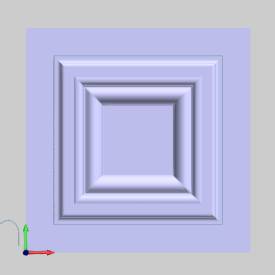
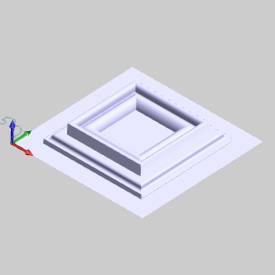
This completes the general setup process for using a custom cross section. The following sections explain many more details about using a custom cross section.
Part 2) Editing the Feature - Geometry Preview and Fast Edit
When you edit the feature after selecting the custom cross section, the preview is shown in the Emboss dialog box.
-
Right-click
 Emboss
Regular, and click Edit.
Notice that the cross section geometry is displayed in the preview. The preview shows the size of the selected chain.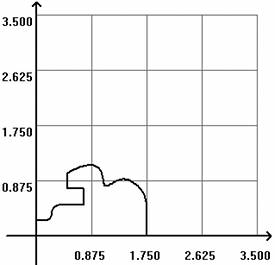
When defining a custom cross section, you can still use the Fast Edit parameters as you would for any other cross section. (Changing the Fast Edit parameters does not change the preview, it only changes the result on the model.) -
Change the Z Scale parameter to 0.500 to create the model at one-half of the original height.
Click OK, and Regenerate the model.
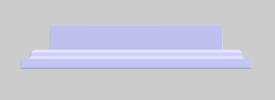
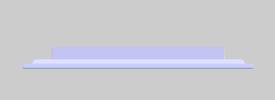
The resulting change is compared in the following images. The first image shows the result of Part 1, and the second image shows the result of changing the Z Scale.
Part 3) About Undercut Areas and Chain Direction
When creating custom cross section geometry, you should avoid creating any areas with undercuts. The undercut areas are removed because they can't be created in an embossed model. The way that they are removed is based on the direction of the selected chain and may not always produce expected results.
To view the chain direction of a custom cross section:
-
In the BobART tree, click
 Cross-Section
Geometry.
The preview is shown in the graphics area.

In the following image, you can see how the undercut area is removed. (A copy of the cross section is placed vertically in the graphics area to better show the result.)
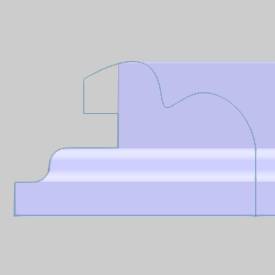
The chain is followed along the direction to the first undercut area and then a vertical line is created to remove the undercut area.
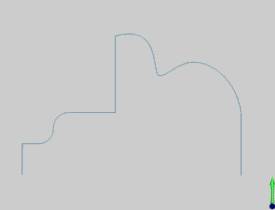
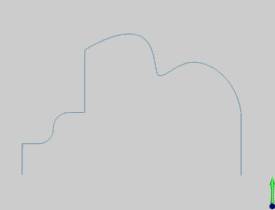
The geometry should be recreated to remove the undercut area. Depending on the desired result, this can be fixed in one of two ways as shown next.
Part 4) Reverse the Chain Direction
When selecting the custom cross section, the direction of the chain is set when you confirm the selection and is shown by a red arrow at the start point of the chain. The chain direction can be reversed without the need to re/select the geometry.
To reverse the chain direction of a custom cross section:
- In the BobART tree, right-click
 Cross-Section
Geometry, and click Reverse
Direction.
The chain direction is reversed and the start point arrow is displayed on the selected entities.
Regenerate to update the model with the new direction.
Emboss Swept Example
The following images show the result of using the corrected cross section (shown previously) with an Emboss Swept feature.
The stock, feature geometry, and custom cross section (with direction) are shown next.
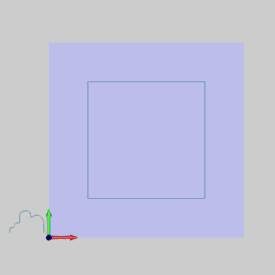
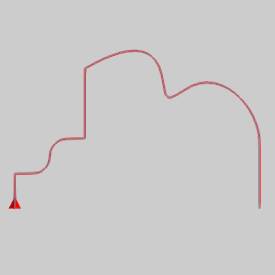
The result after regenerating the model.
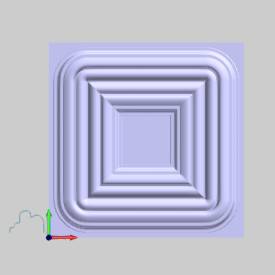
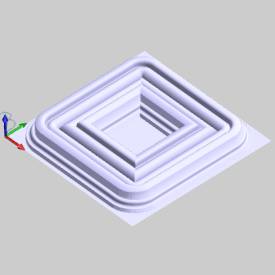
To better show how the cross section is used with the Emboss Swept, a sectional view of the same model is shown next.
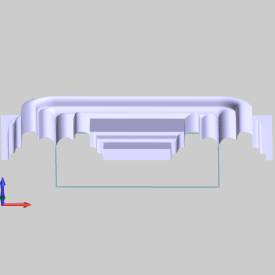
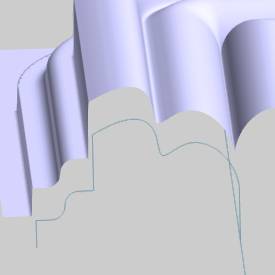
You can see that the start of the cross section is outside of the feature geometry and the end is adjacent to it. The cross section is repeated on the inside of the feature geometry because it is an Emboss Swept feature.
Texture Weave Example
The same cross section is used again with an Emboss Texture Weave. The result of using the cross section with the weave is similar to the Emboss Swept.
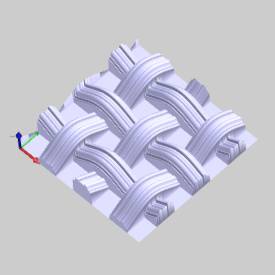
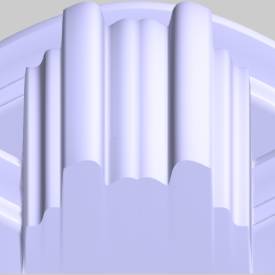
This concludes the tutorial.
