


Emboss Texture from Art Surface (.bbas) File Example 1
Introduction
This help topic explains how to create an Emboss Texture from a BobARTSurface File (.bbas).For this example, you add a feature to a new fileto learn how the parameters affect the result of the texture.At the endof the tutorial, an example of using the texture with an existing modelis shown.
Example File
If you are connected to the Internet, the part file for this example can be downloaded automatically by clicking the following link: Emboss Texturefrom Art Surface Example 2.sldprt
Once you download and saved the zip file, extract the files on your system in an easy place to remember.You can then open the file to use with this tutorial.All files for the tutorials in this help system available for download can be found by clicking on the following link: http://www.bobcad.com/helpfiles.
For this example, a new file is created and the Scroll.bbas surfacefile is used to explore the feature parameters.In the last part of theexample, you open the Emboss Texture from Art Surface File Example
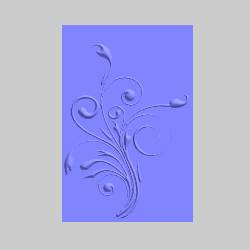
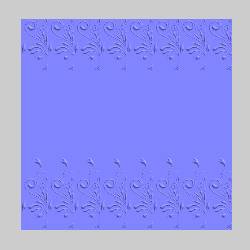
The BobART surface file (Scroll.bbas) used in this example is shownnext.
Part 1) Create a New File and Create BobART Stock
- In the File menu, click New.
With the Part option selected, click OK. -
In the
 BobART tree, right-click
  Emboss Model,and click Create/Modify Canvas.
 -
By default the UCS is set to
-
In the Canvas Definitiondialog, in the Canvas Sizegroup, set the X value to
-
ClickOK.

-
Click Cancel to exit the dialog.
Part 2) Add the Feature and Select the .BBAS File
-
In the
BobARTtree, right-click Emboss Model.
Point to Texture,and click From Art Surface (.bbas)File. -
In the TextureFrom Art Surface dialog, update the Name to MyArt Texture.
-
In the BobArt Surface section, click Load BBAS File.
-
In the Opendialog, select the folder in which you extracted the example file.
-
Select Scroll.bbasand click Open.
The file name shows at the bottom of the BobART Surface section.
Part 3) Edit the Feature
-
In the Texture From Art Surface dialog,notice the values in the Current Attributes group.This is an informational displaythat shows the current Art Surface Size and the Canvas Size.
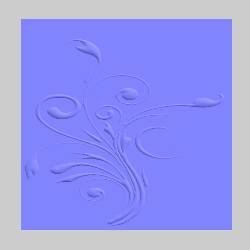
To make the surface file the same size as the canvas, click Scaleto Canvas in the Pattern Size group of the Parameters section.
The Scale X % and Scale Y % parameters are automatically set.The ScaleZ % parameter remains at 100.000.
Part 4) Regenerate the Model
-
Click OK to update the model.
Part 5) Edit the Image Size Control and Regenerate
-
In the Pattern Size group, click Reset to set the ScaleX % and Scale Y % back to the original size.
-
Click OK.
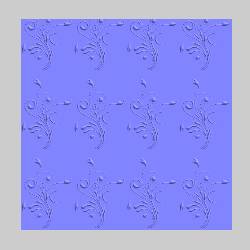
The textureis now tiled to fit the stock size.(The
Note: The Scale parameters change the size of the selectedBobART surface file (.bbas) that is used to create the texture/pattern.When the Scale X parameter is changed to 135.00,the regenerated model result is as follows.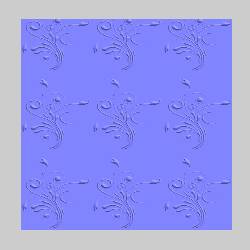
Part 6) Edit the Pattern Location Control and Regenerate
-
In the Pattern Size group, confirm that ScaleX, Scale Y, and Scale Z are set to 100.00.
-
In the Pattern Locationgroup, set:
-
Spacing X % to 50.00
-
SpacingY % to 200.00.
-
-
Click OK.
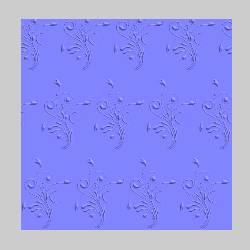
Note: The result shows that only the spacing of the texture/pattern(not the surface file) is scaled.You can see that the scroll repeatedevery 1 inch along the X-axis.(The art surface we are repeating is
Part 7) Edit the Progressive Shift
-
In the Pattern Locationgroup, set:
-
Spacing X % = 100.00
-
Spacing Y % = 100.00
-
Shift Between Rows % = 37.00
-
-
Click OK.
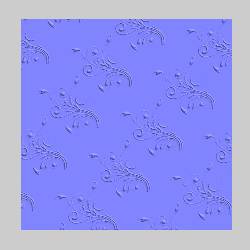
Note: The Shift Between Rows parameter creates an offsetof each row of the texture/pattern so that the starting position is differentfor each row.
Part 8) Add a Rotation Angle
-
In the PatternLocation group, set the RotationAngle to 52.00.
(The rotation angle is measured from the X-axis.) -
Click OK.
Note: Now that you have learned about the featureparameters, you can close the file.(It is up to you if you want tosave the file or not.) For the next part of this example, you learnhow to assign a boundary and apply the feature to an existing model.
Part 9) Assigning a Boundary to a Feature
To show how to assign a boundary, the texture is applied to the bodyof a guitar.For this part, you can open the provided example file tofollow along with the steps.
Open the existing file and create a feature
-
Click File > Open.
In the Open dialog, selectthe folder in which you saved the example file.
Select EmbossTexturefrom Art Surface Example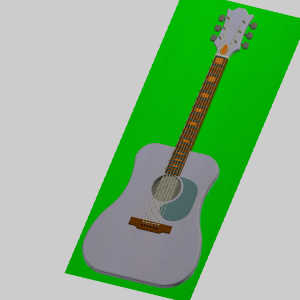
The part opens with an existing BobArt features and the canvas and features are visible in the graphics area. -
Click the
BobARTtab, right-click Emboss Model and select Emboss Texture > From Art Surface (.bbas) File.
The Texture From Art Surface dialog appears.
Set Attributes
-
In the Namefield of the Attribute section, select the text and type MyArt Texture.
-
Click the drop down next to Color,and select More Colors....
The Select Color dialog appears. -
Set the RGB values to R 204, G 204, B 255 to match the body of the guitar and click OK.
The Select Color dialog disappears and the color is set. -
Leave the Application Type set to the default of Add.
Load the BobArt Surface file (.bbas)
-
In the BobArt Surface section, click Load BBAS File.
-
In the Opendialog, select the folder in which you extracted the example file.
-
Select Scroll.bbasand click Open.
The file name shows at the bottom of the BobART Surface section.
Define the Parameters
-
In the Pattern Location group of the Parameters section, set the Rotation Angle to 52.000.
-
Set the Progressive Shift value to 37.00.
-
Click OK.
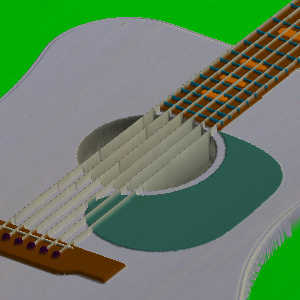

The texture is applied to the canvas and all existing features.This is not the desired result and is due to the lack of boundary on our feature, and its order in the BobArt Tree.
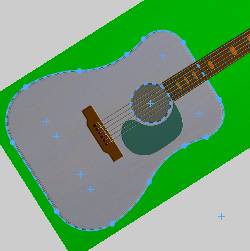
Apply the Boundary Geometry
Note: When selecting a boundary, multiple closed chains can be selected.
-
By default, the Selected Geometry list of the Boundary Geometry section has focus.
-
In the Feature Manager Design Tree, select the Body and Sound Hole features.

-
Click OK to regenerate the feature.

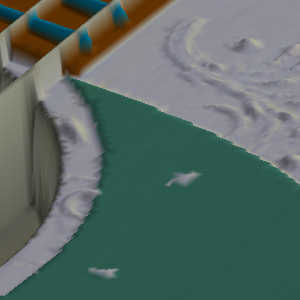
Notice the texture is now confined to the area between the sound hole and the body of the guitar.
The next issue is the texture is still being applied to everything within the same area.This is because our feature was added as the last feature in the BobArt Tree , and is therefore applied on top of everything which came before it.In the next part of our example, we will update the order of our features to correct this. -
Click Cancel to exit the feature.
Part 10) Adjusting Feature Order
-
Click and drag on the name of our MyArt Texture feature in the tree an release the mouse on the Sound Hole Regular Emboss 2 - Subtract feature.

The My Art Surface feature is placed under the Sound Hole Regular Emboss 2 - Subtract feature.
Tip: Clicking on features in the tree highlights them in the graphics area.This can be helpful in identifying feature results in the graphics area.
-
Right-click
EmbossModel, and click Regenerate.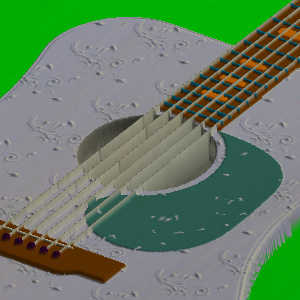
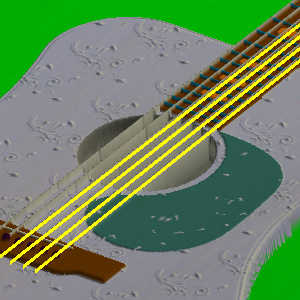
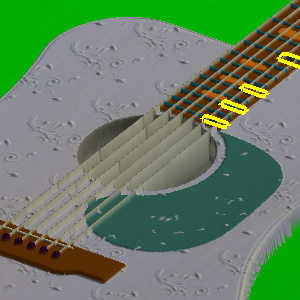
Notice all the features after our MyArt Texture feature, like the Bridge, Strings, and Inlays seen below are now on top of our texture feature.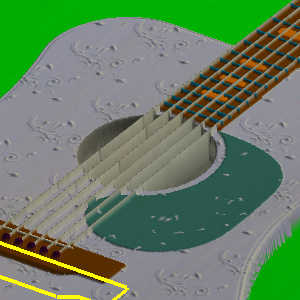
Currently our texture is being added to the model and is appearingthrough the pick guard.This is because the pick guard feature is set to a Merge High application type.
For this application, the texture should becut into the body and not raised from it, so there will not be an issue with the pick guard once this is updated. -
Right-click our MyArt Texture feature and select Edit.
-
In the Application Type group of the Attributes section, change to Subtract.
-
Click OK.
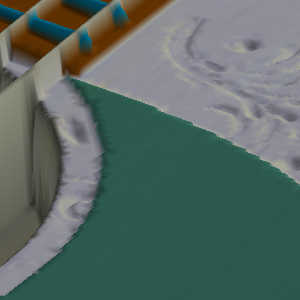
The texture is no longer added to the model, but is now subtractedor cut into the body of the guitar. -
Click Cancel.

This concludes the tutorial.