


V-Carve Pocketing
The V-Carve feature type is generally used to engrave text, arcs, lines and splines in a 3-dimensional form with 3-axis tool motion, with pocketing of open spaces in the selected profiles if necessary. There are two V-Carve operation types, Tapered Pocketing and V-Carve Finishing (engraving). This example uses the both operations, one to perform the pocketing with an endmill, and the second to cut a tapered wall around the pocket.
Pocketing a shape with V-CARVE example:
Part 1) Open a new file
- Go to File > New to create a new part file.
Part 2) Create the Rectangle
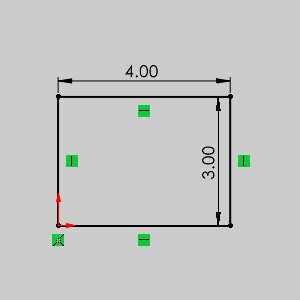
- Right-click the Front Plane and select Sketch.
- Choose Tools > Sketch Entities > Corner Rectangle.
- Starting at the origin, create a rectangle with values X = 4 and Y = 3 and click OK.
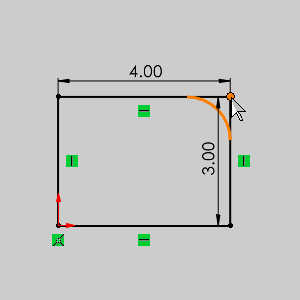
Part 3) Create the Fillet
- Choose Tools > Sketch Tools > Fillet...
- Set the Parameters to 1.0000.
- Select the Vertex at the top-right and click OK.
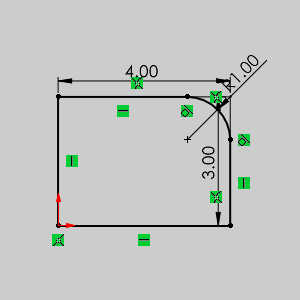
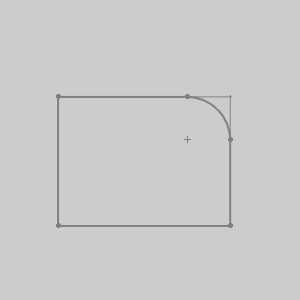
- Exit the sketch.
Part 4) Create the CAM Job
- In the CAM Tree, right-click CAM Defaults,and click New Job.
- With the Milling job type and the BC 3X Mill machine selected, and the Start Stock Wizard check box selected, click OK.
- Click the
 (next) button to skip the workpiece assignment.
Part 5) Create the Stock
- With Rectangular selected, the software automatically creates a bounding stock for the text in the graphics area.
- In the Offset group, add a 0.2500 offset for -X, +X, -Y, and +Y.
- Click to go to the Machine Setup.
Part 6) Set the Machine Setup and Work Offset
- Select the following vertex as the origin.
- In the Work Offset group, set the Z value to .000.
- Click OK.
Part 7) Create the Feature
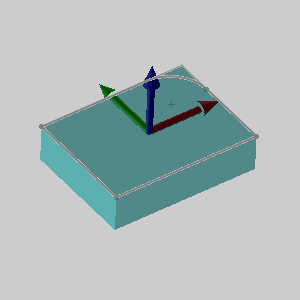
- In the CAM Tree, right-clickMachine Setup, and click Mill V-Carve.
- In the Mill V-Carve Wizard,click the Select Geometry button.
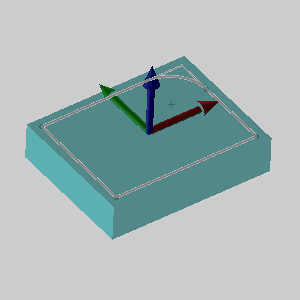
The Mill V-Carve Wizard disappears, allowing you to select geometry from the graphics area. - In the Feature Manager Design Tree, select the sketch.
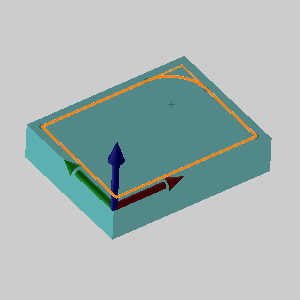
- Click OK.
The Mill V-Carve Wizard returns. - Click Next>> to go the Feature page.
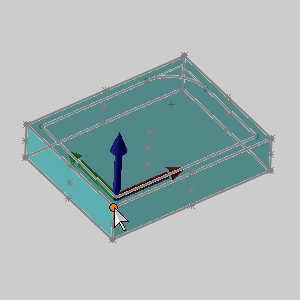
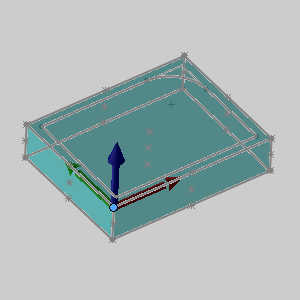
- In the Feature Parameters group, change the Total Depth to .
- Click Next>> to go the Machining Strategy page.
- In the Tree on the left of the wizard, click
 Machining Strategy to jump to that page.
 - Under Available Operations,with Tapered Pocketing selected, click the left arrow button,
 ,to add the operation to the Current Operations list.
 - Under Current Operations, click the up arrow button,
 , to move the Tapered Pocketing operation to the top of the list.
 - Click Next>> to update the tree with the new operations.
Part 8) Set the Roughing Tool
- Click Next >> again to move to the tool page.
- Change the Diametervalue to , and pressTab to update the value.
The system automatically selects a tool from the Tool Library(after checking the Tool Crib).
Part 9) Set the Parameters
- Click Next>> to go to the Parameters page.
- Notice the Pocket Depthis already defined.
- Change the Depth of Cut value to .
- Update the Endmill Cutter Width % value to 33.
- Click Next>>.
Part 10) Set the Finishing Tool
- Confirm the default inch Diameter V-Tool is selected, and click Next>>.
Part 11) Set the Finishing Parameters
- Under Depth Options, change the V-Tool Depth of Cut value to .
- Change the V-Tool Roughing Stepovervalue to .
Note: Notice the V-Tool Cleanup Parameters. Because we are using a Tapered Pocketing operation, we can set the stepover to perform a cleanup path in the corners of the pocket using the V-tool.
- Change the V-Tool Cleanup Stepover value to .
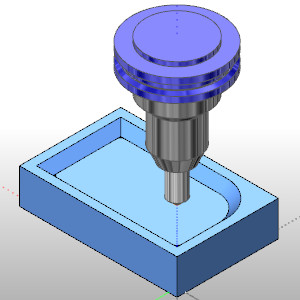
- At the bottom of the wizard, click Compute.
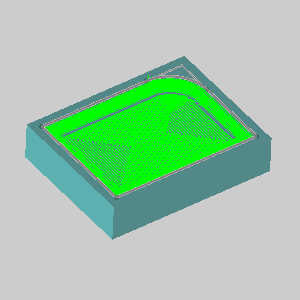
- To view the toolpath simulation, right-click Milling Job and click Simulation.For more information on using simulation, view Getting Started with Simulation.
This concludes the example.