Update Work Offset Number dialog
Introduction
This topic explains the Update Work Offset Number dialog, provides an example and links to related topics.
Navigation
While creating a new job, a Work Offset is automatically assigned. By default the work offset number is 1 unless updated by the user. Features created in a particular machine setup are automatically assigned the work offset number of that machine setup. Once features have been created for the machine setup, updating the work offset number in the machine setup will automatically launch the Update Work Offset Number dialog which can automatically update the work offset number used in each of the features to match the number which has just been updated in the machine setup.
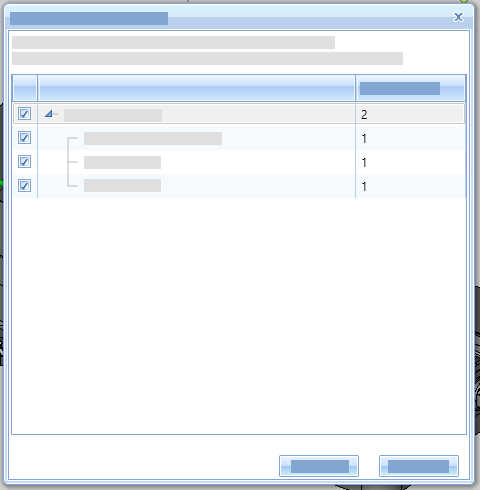
This dialog lists the Machine Setup and its work offset number (2 in the above image) along with all features under the machine setup and their work offset numbers (1 in the above image). By default all features are selected to be updated. Clear the check box for any feature whose work offset number should remain unchanged and click OK. All selected features are then updated to the new work offset value of the machine setup.
Tip: If you intend to update all of your features to match the change you just made to the work offset number of the machine setup, simply click OK when this dialog appears and all features will update to match.
Example Part
The following images show our example part.
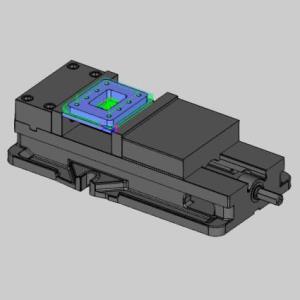
The part file for this tutorial is available for download at: http://www.bobcad.com/helpfiles. If you are connected to the Internet, you can click the link provided to download and save the 3_2_Rouging_Example_3.SLDPRT zip file. After extracting the zip file, you can then open the example file to use with this tutorial. In the example file provided, the Tool Crib is already equipped with the necessary tools and the stock and Machine Setup are already defined. The part is simulated using the BC_Head_Table machine.
Example : Update Work Offset Number
Part 1) Updating the Work Offset Number of a setup
- In the CAM Tree, right-click Feature Mill Hole - 0.3750 and select Edit.
The Mill Hole Wizard opens. - In the tree on the left of the wizard, click Posting to jump to the Posting page.
Notice the Work Offset # is set to 1. - Click Cancel or Finish.
- Repeat this for each of the Feature 2 Axis features in the CAM Tree as well.
Notice each is has a Work Offset # of 1. - Right-click Machine Setup - 1 and select Edit.
The Machine Setup dialog opens. - Toward the bottom of the dialog, in the Work Offset group, notice the Work Offset # is also 1.
Update this to 2. - Click OK.

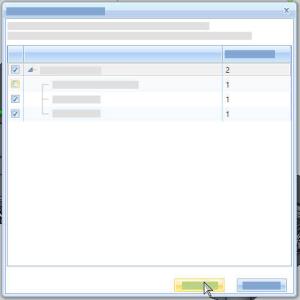
The Update Work Offset Number dialog appears with all features listed, and all of their check boxes selected.
Clicking OK now would automatically set all features to a Work Offset # of 2 to match the update we just made to our machine setup. - Next to Machine Setup - 1, clear the check box.
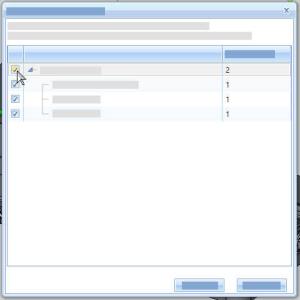
Notice this clears the check boxes for all features in the list. Clicking OK now would result in none of our features being updated. - Select the check box again to reselect all features.


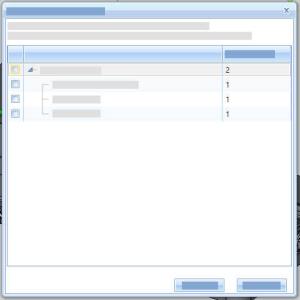
- In this case we will not update the first feature.
Clear the check box for Feature Mill Hole - 0.3750.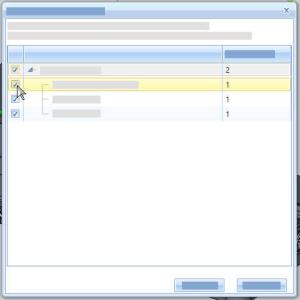

- Click OK.
The dialog disappears. - Edit each feature to check its Work Offset # on the Posting page.
Notice the first feature has not been updated while the other two have.
Part 2) Pasting features
- Right-click Machine Setup - 1, hover over Additional Functions, and select Insert Setup.
Machine Setup - 2 is added to the CAM Tree. - Right-click Machine Setup - 2 and select Edit.
The Machine Setup dialog opens. - Toward the bottom of the dialog, in the Work Offset group, notice the Work Offset # is 1.
Update this to 3. - Click OK.
No dialog is launched because no features have been added to the setup to update. - In the first setup, right-click Feature Mill Hole - 0.3750 and select Copy with Geometry.
- Right-click Machine Setup - 2 and select Paste Feature.
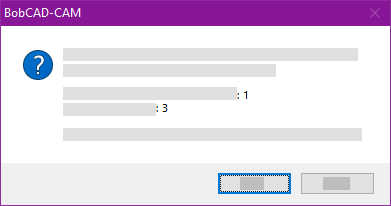
A dialog appears explaining the work offset number of the feature you have pasted does not match the work offset number of the machine setup it has been pasted into.
It shows the work offset number of your feature (1) and the work offset number of the machine setup (3) and allows you to update the feature automatically by pressing OK. - Click OK.
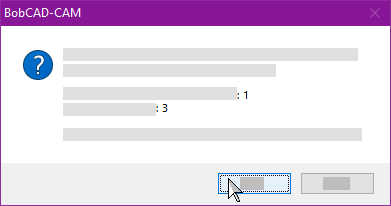
- The dialog disappears.
Right-click the new feature and check its Work Offset #. Notice this has been updated.
That concludes this example.
Related Topics
The Stock Wizard and Machine Setup Tutorials
Next Topic
Click here to go to The Milling Job topic.
Click here to go to The Mill Turn Job topic.
Click here to go to The Wire EDM Job topic.