In this Topic Show
After creating all the toolpath to machine your part, the final step of using BobCAD-CAM is to output the NC program and get it to the machine. This topic provides an overview of how to generate your NC programs. It is helpful to know that this process is the same for all CAM Jobs, regardless of the type.
After simulating and confirming the desired result, you are ready to post the NC program. It is important to understand that the NC program is created using the post processor file that is assigned to the machine. The default post processor for each machine is defined in Current Settings and can be modified from the CAM Tree.
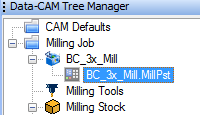
To open the Current Settings dialog box:
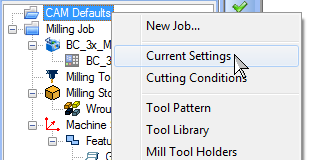
TIP: This method selects the Current Settings Default (for system default settings). You can also access the Current Settings Job (for the current job only) by right-clicking Milling Job instead of CAM Defaults.
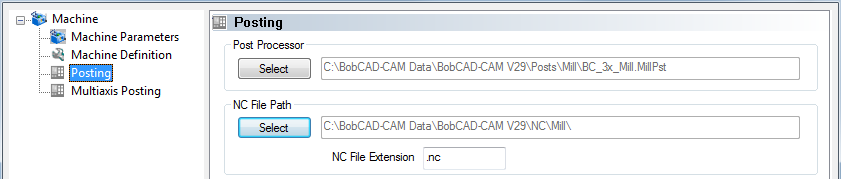
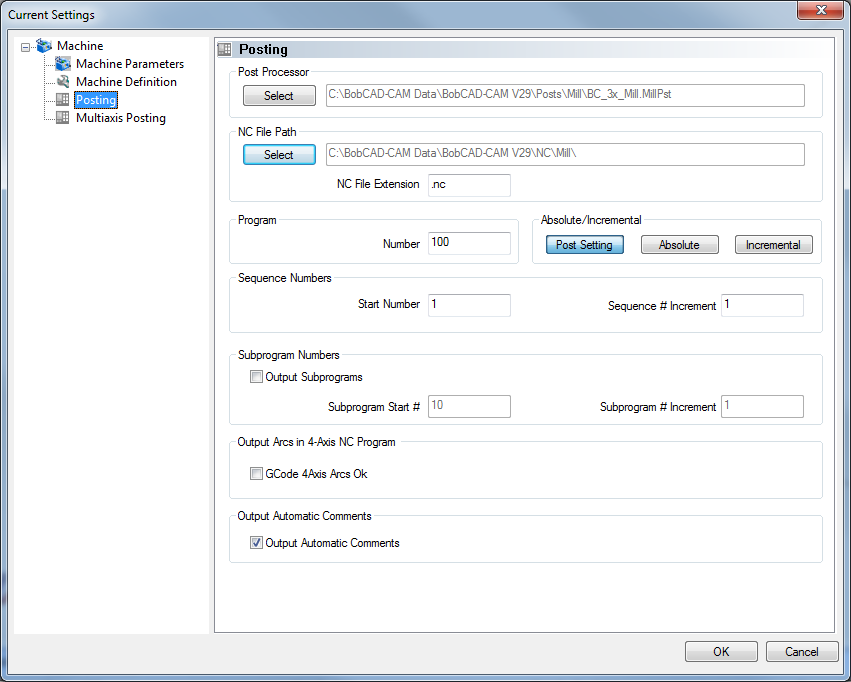
Many important Posting settings, such as the program number, subprogram selection, and more are defined in the Current Settings. For more help, view the BobCAD-CAM Help System.
To create the NC program for any CAM job, do one of the following:
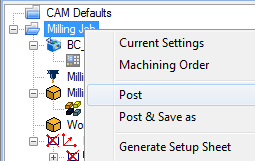
This option creates the NC program in the location defined in Current Settings.
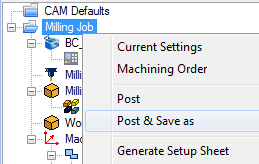
This option allows you to specify the name and location to which the NC program is saved.
When you post a program in BobCAD-CAM, the NC program also displays
in the ![]() Posting Manager.
Posting Manager.
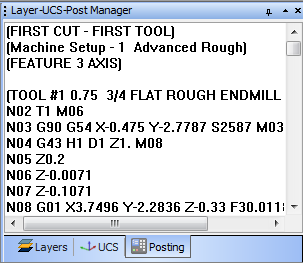
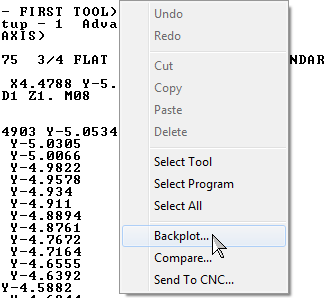
The Posting Manager allows you to view the code, and you can open it in the NC Editor.
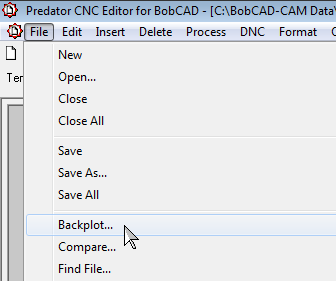
To edit the NC program:
Right-click in the Posting window, and click Edit CNC.

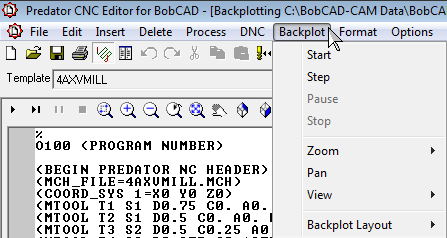
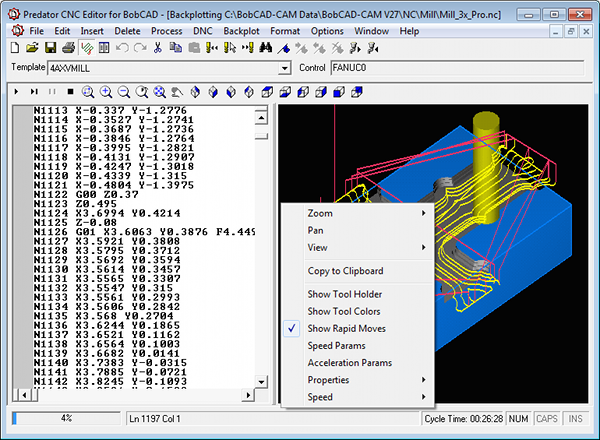
This launches the editor with the NC program. The editor allows you to edit the code, setup RS232 communications (DNC), and even backplot the program (Editor Pro), which allows you to simulate exactly what the code is going to do on the actual machine.
The pro editor contains some advanced functionality that isn't available in the standard editor, such as syntax highlighting and backplotting.
To backplot an NC program in Editor Pro, do one of the following:
The Backplot menu then displays, which contains the start, stop, pause, and other controls used for backplotting.
Note that you can right-click in the backplot (graphics) window while it is running to access more options.
Now that you have the finished NC program, you can get it to the machine using any method you prefer. You can use the DNC capabilities for RS232 communication from within the editor, or any available storage medium (flash drive, hard drive, or floppy disk), to transport the code to the machine controller.
Happy Cutting!
Congratulations! You have reached the end of this demonstration. To learn about another module, view the Getting Started Introduction.