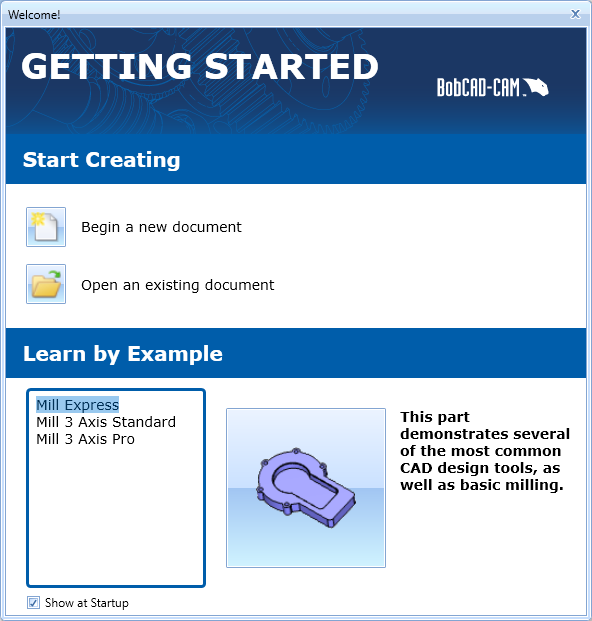
This topic explains how to use the Getting Started dialog and demonstration files. The Getting Started dialog displays when you open the BobCAD-CAM software. After being closed, you can open the Getting Started dialog from the Help menu.

You can go directly to creating on your own using the following buttons.
Click this button to start a new BobCAD file.
Click this button to display the File Open dialog box.
Demonstration files and tutorials can be accessed using the Learn by Example section.
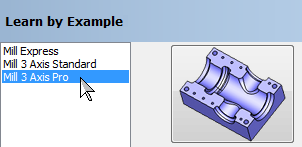
Select a module.

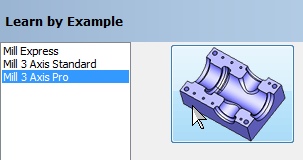
Click the part button.

The demonstration file opens and the following buttons display at the bottom of the user interface.

Click the button under any step to update the demonstration file to that stage of the process.
Step 1 - CAD
This button displays the finished CAD model and the CAD Tree for you to see how the part is designed.
Step 2 - CAM
This button displays the toolpath and stock for the job and displays the CAM Tree for you to see all the CAM features and operations used to machine the part.
Step 3 - Simulation
This button opens the simulation window for you to visualize the NC program using our powerful toolpath simulation.
Step 4 - Post
This button post processes the NC program for the job and displays the G-code in the Posting Manager.
To learn how to create each stage of the process, click the links that display under the Step 1 through Step 4 buttons to view a written tutorial.