Create Stock from Wireframe Entities
Introduction
In this example you learn how to create stock whose shape is determined by sketch entities. This example will also provide links to related topics.
Creating the Stock
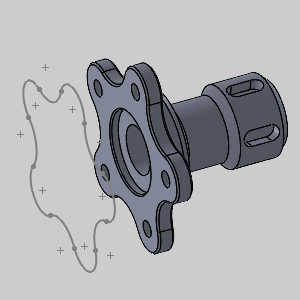
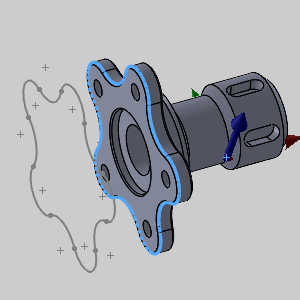
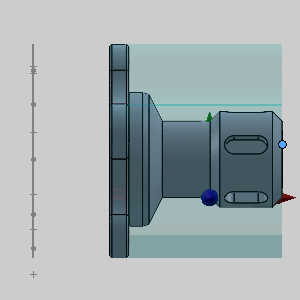
Part 1) Select the Stock Type
- By default the Stock Type is set to Rectangular.
In order to extrude a
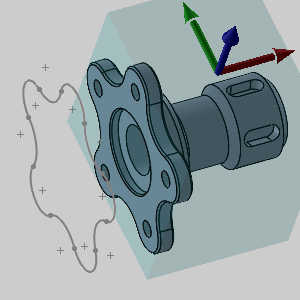
The stock origin updates to show the default location of the top of stock which is set by the WCS.
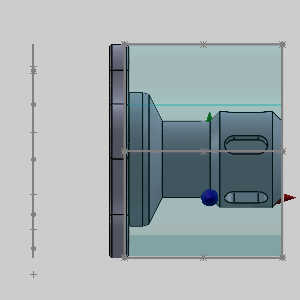
Part 2) Set the Stock Size and Orientation
The rotary center of the part is aligned to
the X-axis. The right side of the part will be the Top of Part
for our stock. When setting up stock from a
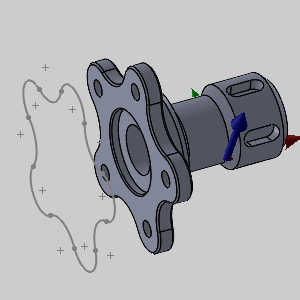
- Select the curve, or the solid edge.
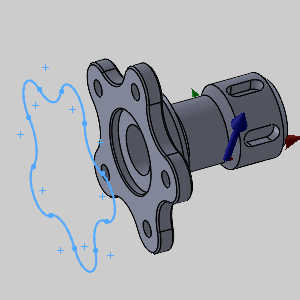
The item highlights but the stock is not updated. - In the Stock
Orientation group, click the Extrusion
Direction arrow, and select X-axis.
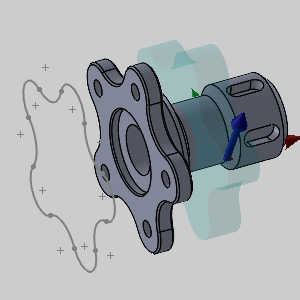
The stock updates. Notice in the images above and below the stock is positioned the with its top at WCS zero. This will be true regardless of the location of the selected geometry.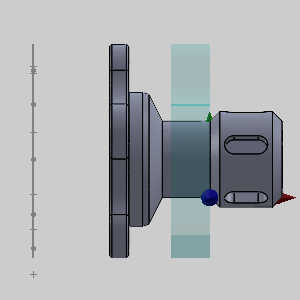
-

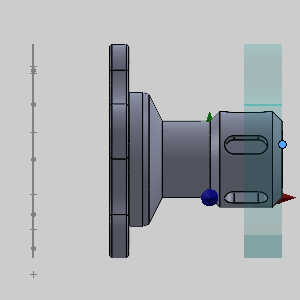
The stock location updates. - In the Height
box, enter the necessary height of the stock.
- The Stock Specification Definition is now complete. Click

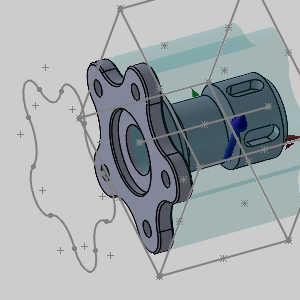
A bounding box is created around the stock to allow you place the Machine Setup location.
That concludes this example.