Creating Stock Using a Solid Body
Introduction
In this example you learn how to create stock using a solid
Creating the Stock
In this example, you learn how to create stock using a solid body in the graphics area. This creates stock that is the same as the selected solid body. The part for this example is shown first.

Part 1) Select the Stock Type
-
By default the Stock Type is set to Rectangular.
To create stock using a solid
Part 2) Select the Solid Model
-
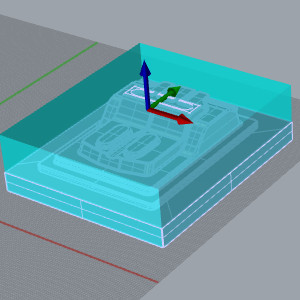
Select the solid model in the graphics area and click Calculate Stock.
The stock coordinate system displays at the top and center of the stock.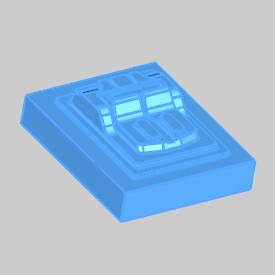
The solid is added to the - Click Calculate Stock.
- Click


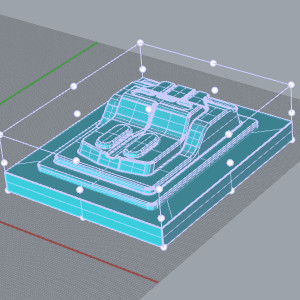
In the following image, the solid model is hidden to show the stock geometry created.
