


Tool Library Manager Functionality
Introduction
This topic serves to describe the functionality found in the tool library manager, will explain where to find the tool library manager and will explain the parameters found in the tool library manager. This topic will also provide links to related topics.
The Tool Library Manager
The Tool Library Manager contains all of the available libraries and system tools based on the main categories Drill, Mill, Lathe, Laser, Plasma, and Waterjet. This dialog box is used to add, delete, and modify libraries and the tools in them. You can also load tool information from a previously saved file. On the left side of the dialog box is a list of the available libraries and their supported tool types. The right side contains the tool parameters list for each tool.
Taking the time to create libraries of the tools at your disposal can greatly speed up the process of creating features to machine. You can then add the tools to the Tool Crib to quickly create the equivalent of the tool changer for each job. The Tool Crib tool list can be saved to a file for repeated use.
When you select a tool for a feature wizard operation, a filtered version the Tool Library is displayed which only displays the appropriate tool types based on the operation type.
For more information on the tool library manager, and the tools contained in it, see the Tool Library Manager topic.
Navigation
To access the Tool Library, do one of the following:
- In the CAM Ribbon, click
 Tool Library.
 - In the CAM
Tree, right-click
 CAM Defaults,
and click Tool Library.
CAM Defaults,
and click Tool Library.
This method is used to view, add, or modify tools in the Tool Library. - In the CAM
Tree, right-click
 Milling Tools,
  Turning Tools,
or Mill Turn Toolsand click Tool Library.
Turning Tools,
or Mill Turn Toolsand click Tool Library.
Note: This opens the Tool Library showing only tools for the selected job type (Mill, Lathe, or both in the case of a Mill Turn job).
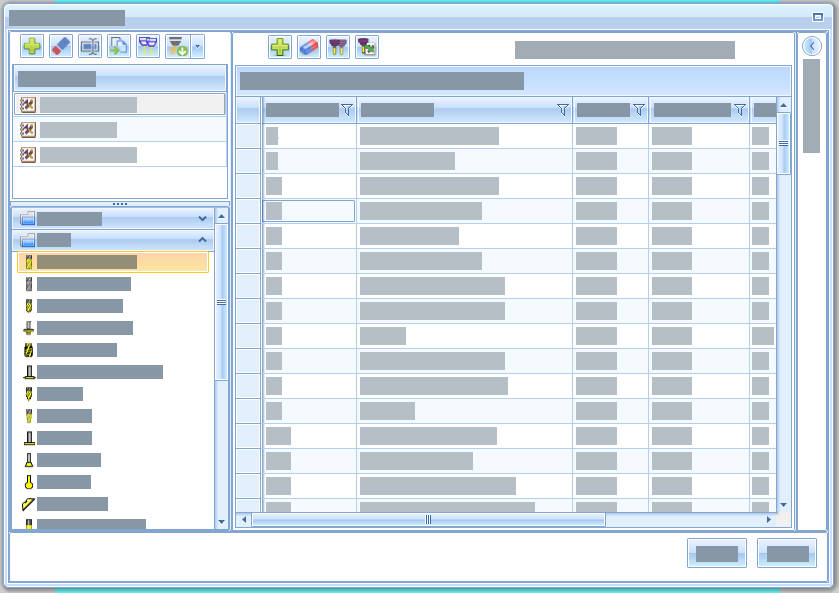
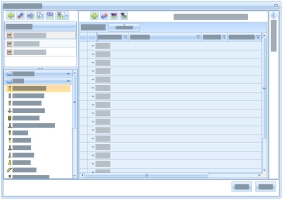
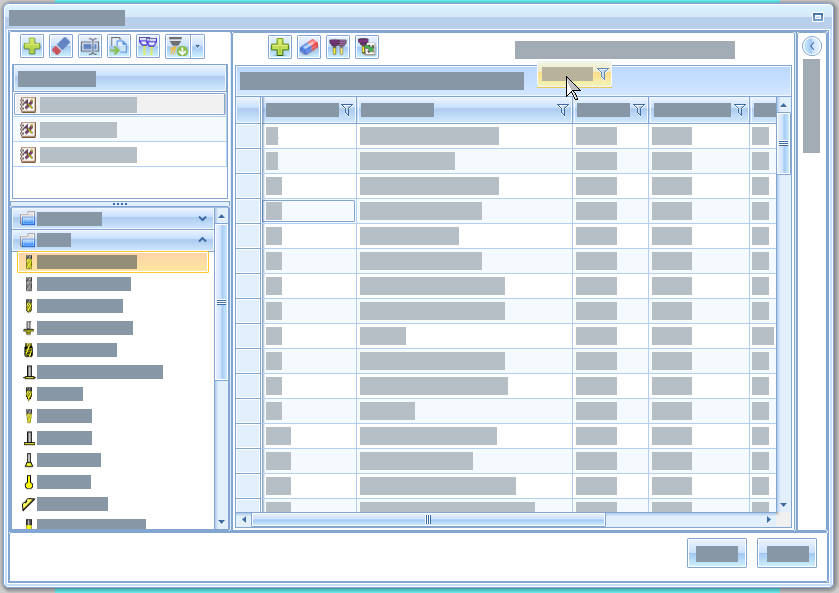
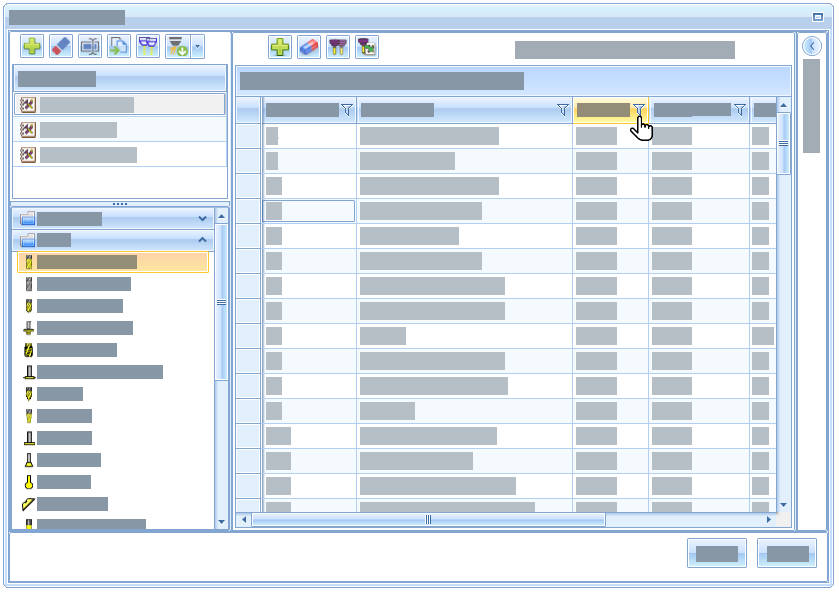
Tool Library Manager Interface
There are a few main areas of the Tool Library one should be familiar with:
Tool Library Panel Bar

The upper-left portion of the Tool Library is the Tool Library Panel Bar which groups the available libraries. Clicking on a particular library will display the available tool types in that library. Finally, clicking on a particular tool type will show all the tools available tools of that type.
Tool Panel Bar
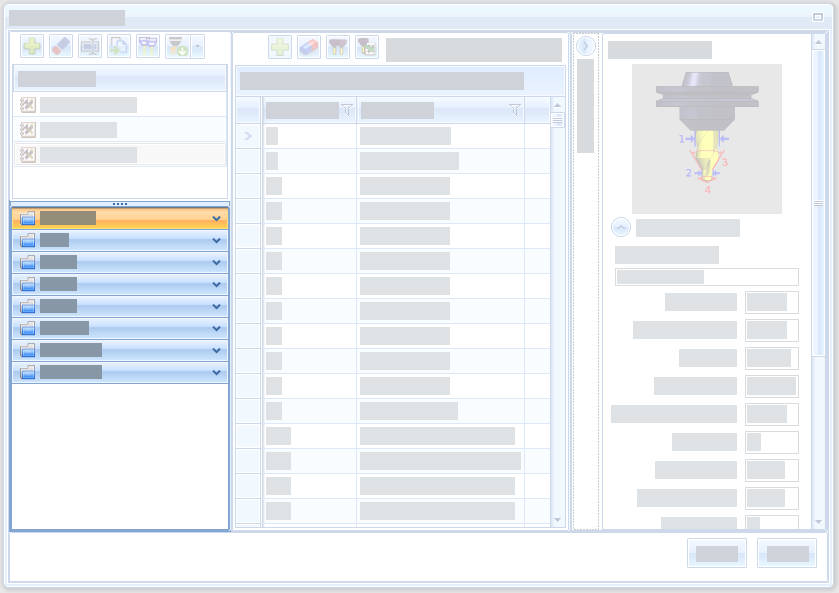
The lower-left portion of the Tool Library is the Tool Panel Bar which groups the tools. The tool are divided first by Drill, Mill, Lathe, Laser, Plasma, and Waterjet. Clicking on a particular group will display the available tool types in that group. Finally, clicking on a particular tool type will show all the tools available tools of that type.
Tool Grid View
With a particular tool type selected, the Tool Grid View will show all the available tools of that type. From this point you can add tools with a particular tool group selected, or highlight tools to delete, clone, or copy them to another library.
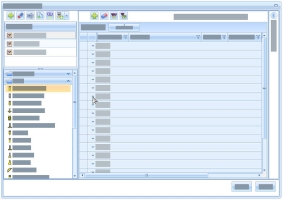
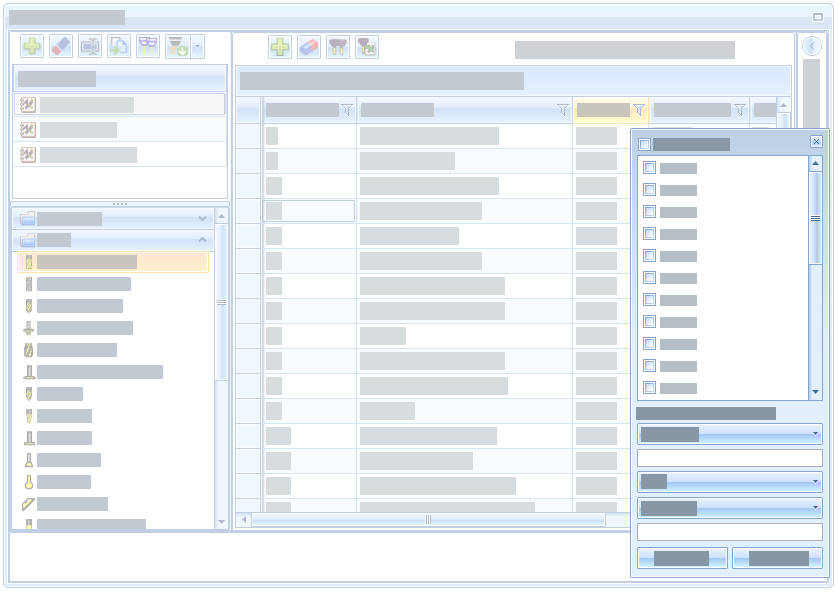
Tool Parameter Grid Splitter
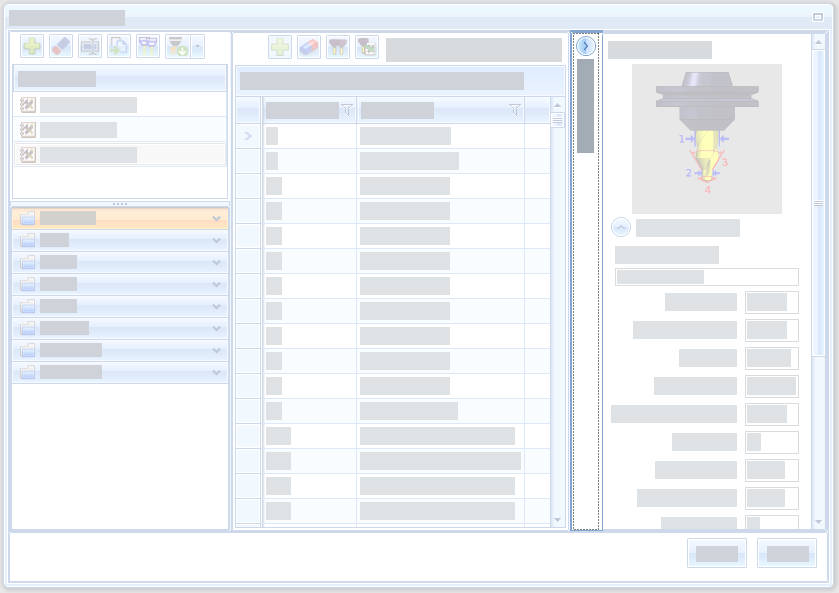
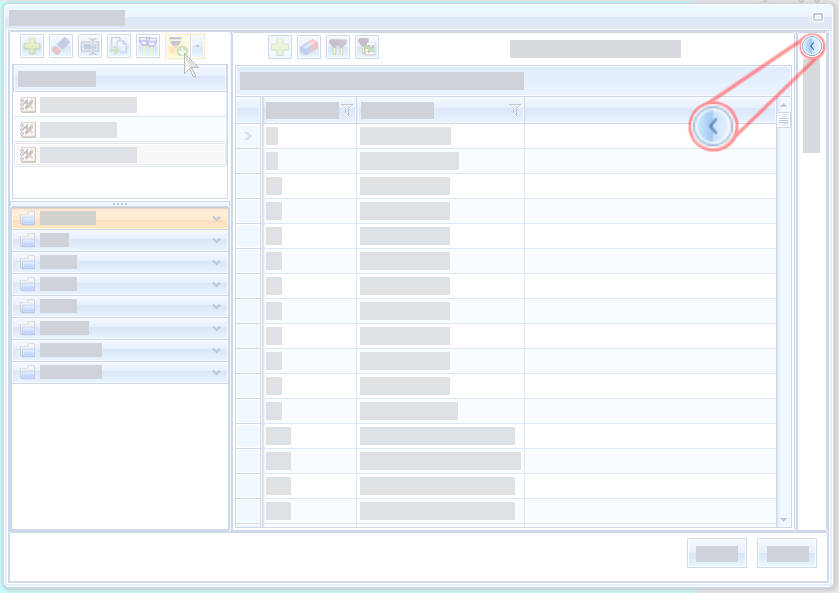
Upon opening the Tool Library Manager, the Tool Parameter Dialog will be collapsed. To expand the Tool Parameter Dialog, click the ![]() chevron icon. With the Tool Parameter section expanded, click the
chevron icon. With the Tool Parameter section expanded, click the ![]() chevron icon to collapse it. The Tool Parameter Grid Splitter can also be used to resize the Tool Parameter section. Hover over the left side of the Tool Parameter Grid Splitter until the mouse icon displays as the double headed arrow. You can then hold left-click and drag the section to the desired size.
chevron icon to collapse it. The Tool Parameter Grid Splitter can also be used to resize the Tool Parameter section. Hover over the left side of the Tool Parameter Grid Splitter until the mouse icon displays as the double headed arrow. You can then hold left-click and drag the section to the desired size.
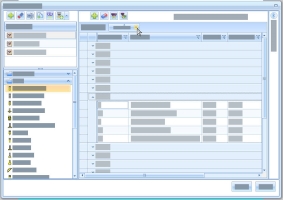
Tool Parameter Dialog
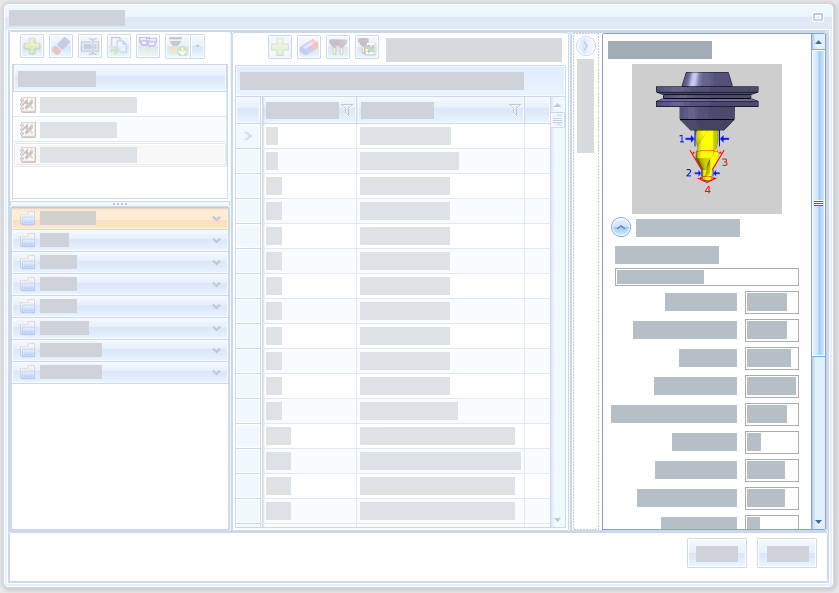
There is always a tool in the Tool Grid View that is selected. The Tool Parameter Dialog will always show the data for the currently selected tool. With the Tool Parameter Dialog available, you can modify any of the available tool data. The data will update in the Tool Grid View when another tool is selected. The data will be saved in the Tool Library once you click OK.
Tool Library Manager Functionality
Library Controls
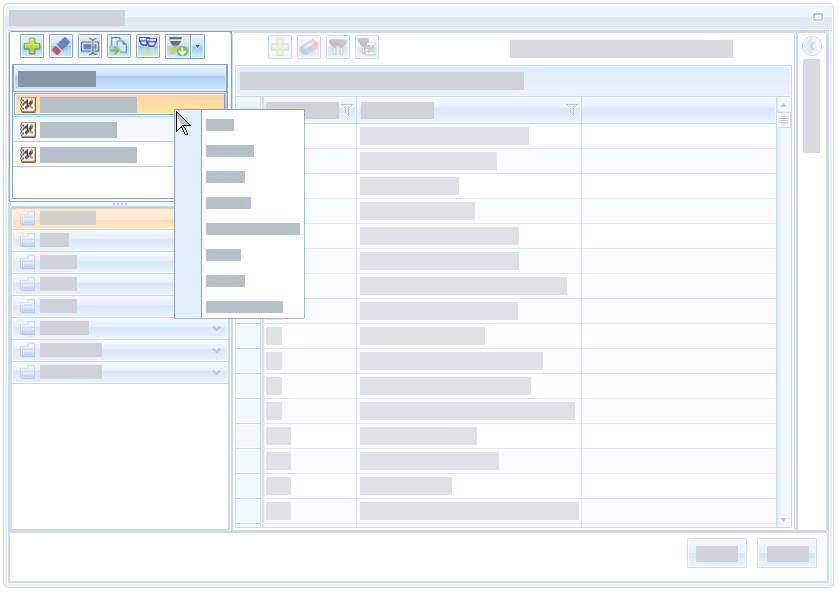
Note: The quick access menu options can also be accessed with a right-click through the context menu. The context menu also allows you to set a particular library as your default with the Set As Default option at the bottom.
Sharing the Library
Libraries are saved every time you exit by clicking OK. Libraries can also be shared between work stations.
To share your tool library:
- Open the C:\BobCAD-CAM Data\BobCAD-CAM V37\Technology\ToolLibrary directory.
By default, software is installed on the C: drive. If you have installed on a separate drive, update the above directory accordingly. - Find the appropriate library, right-click and click Copy.
The file is now copied. - The file can now be pasted in an email, or a shared directory to be accessed by the desired recipient.
Adding a Library
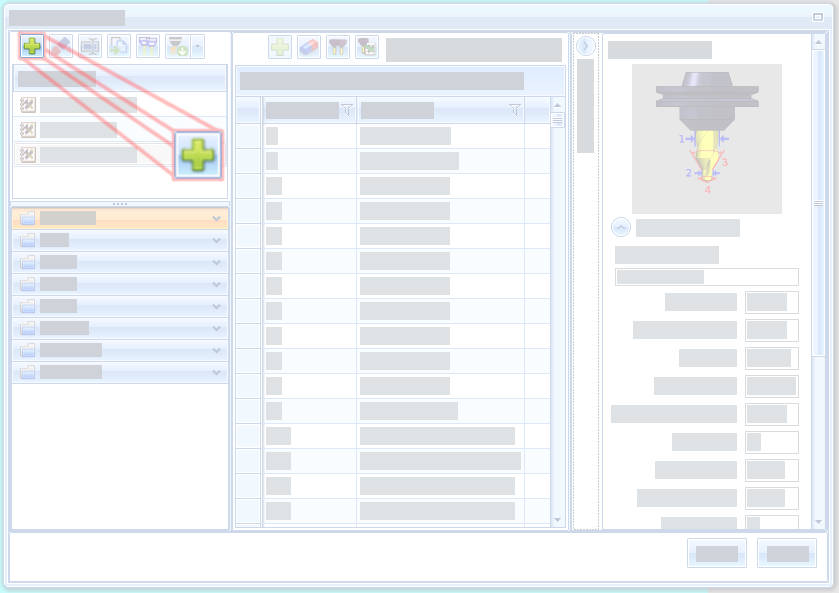
To add a new library:
- Click the
 Add button.
A new library appears in the Tool Library(s) list. This library will be empty up creation. - Select a job type, then a tool type, and add tools as needed.
Deleting a Library
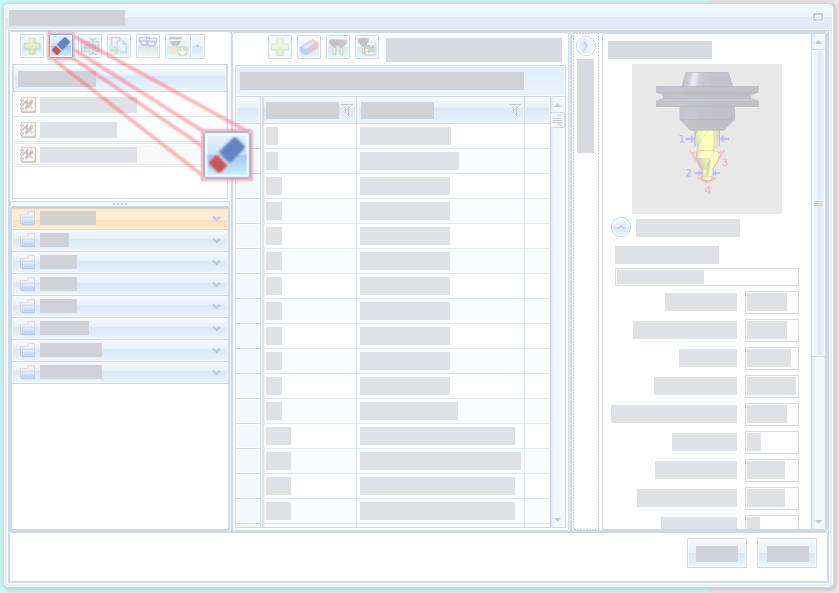
To delete an existing library:
- Highlight the library to be removed, and click the
 Delete button.
A message appears asking if you are sure you wanted to delete the selected library. - Click Yes to remove the library.
The library is removed.
Renaming a Library
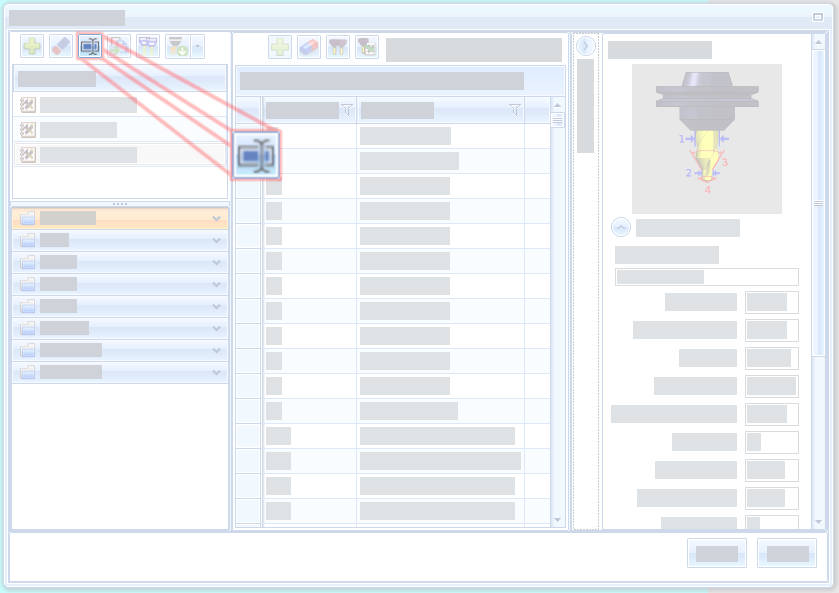
To update the name of an existing library:
- Highlight the library whose name should be updated, and click the
 Rename button.
The text box becomes editable.
Tip: You can also just double click the library to be renamed, and the text box automatically becomes editable.
- Update the name as desired and press Enter.
The library is renamed.
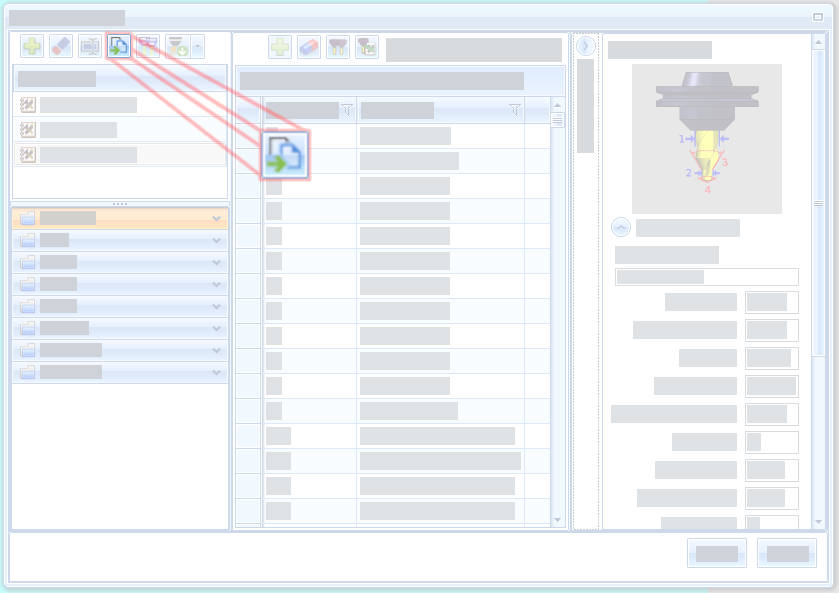
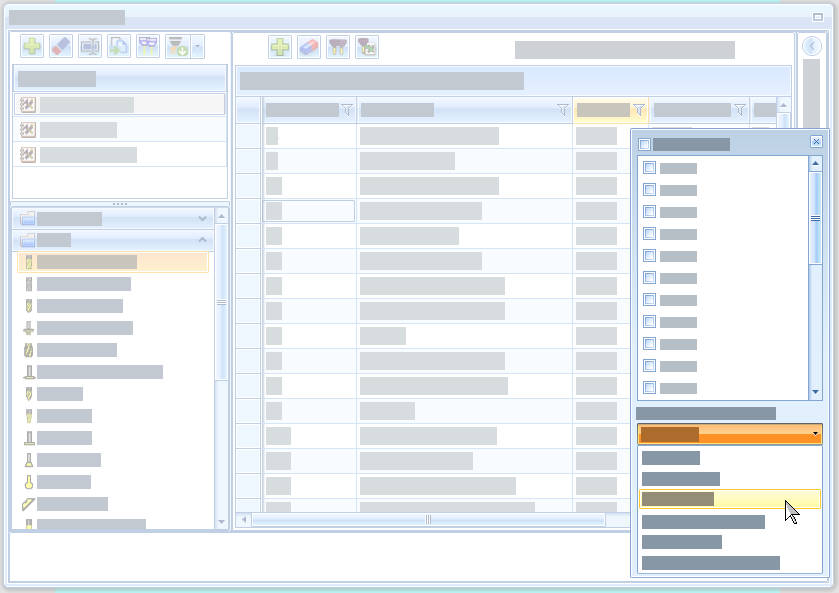
Copy to Other Libraries
To copy one library into another, or others:
- Highlight the library to be copied, and click the
 Copy To Other(s) button.
The Copy tools to other libraries dialog appears.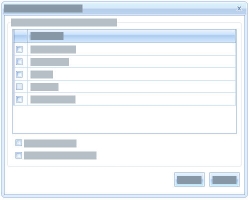
- In the main list, select the libraries the original should be copied to.
You can also select the Select/Unselect All check box to select or deselect all libraries at once. - Select, or keep clear, the Keep same tool number check box depending on whether the tools in the original library should maintain their tool numbers.
- Click OK to copy the originally selected library to all libraries selected in the Copy tools to other libraries dialog.
The library is copied.
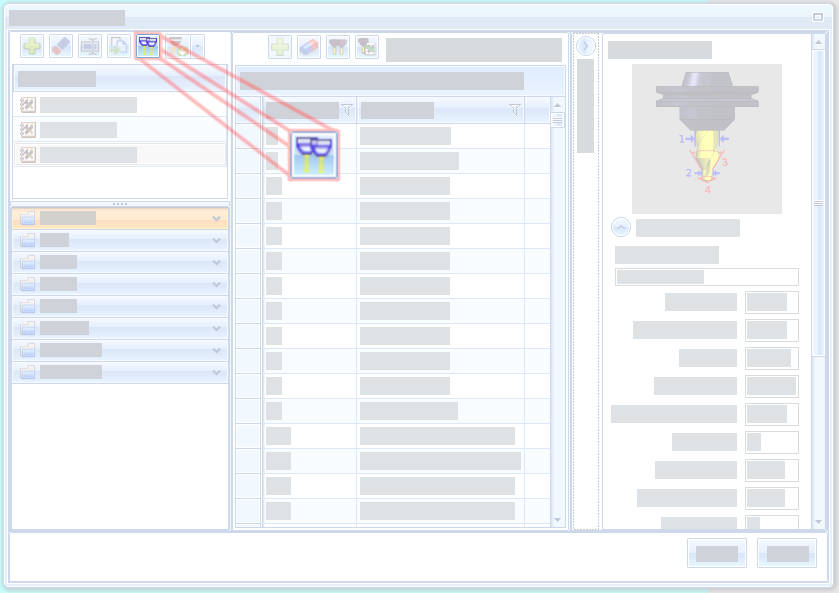
Cloning a Library
To create an exact copy of an existing library:
- Highlight the library to be copied, and click the
 Clone button.
An exact copy of the selected library is created.
Importing a Library

To bring in a library from another work station:
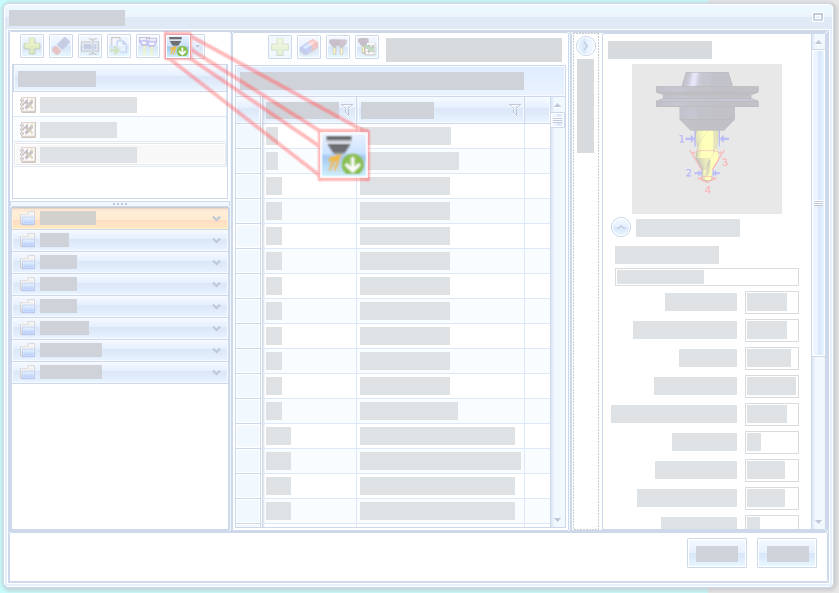
- With the library file on an available directory, click the down arrow next to the
 Merge button.
The drop down options appear. - Click the Import File option.
- Navigate to the directory in which the desired library is stored.
- Select the library to be imported.
- Click Open.
The library is added to the list of available libraries.
Merging a Library
To add an existing library to another:
- Select the library into which the other should be merged.
- Click the Merge button.
The Open dialog appears. - Navigate to the directory in which the desired library is stored.
- Select the library to be merged.
- Click Open.
The selected library is merged into the currently selected library. - Clean up the expanded library as desired.
Tool Controls
Adding a Tool
To create a new tool in your library:
- Select the library in which the tool should be added.
- Select the tool group in which the tool should be added (e.g., Mill, Drill, Lathe, Laser, etc.).
- Select the tool type in which the tool should be added (e.g., Endmill Rough, Endmill Finish, Chamfer Mill, etc.).
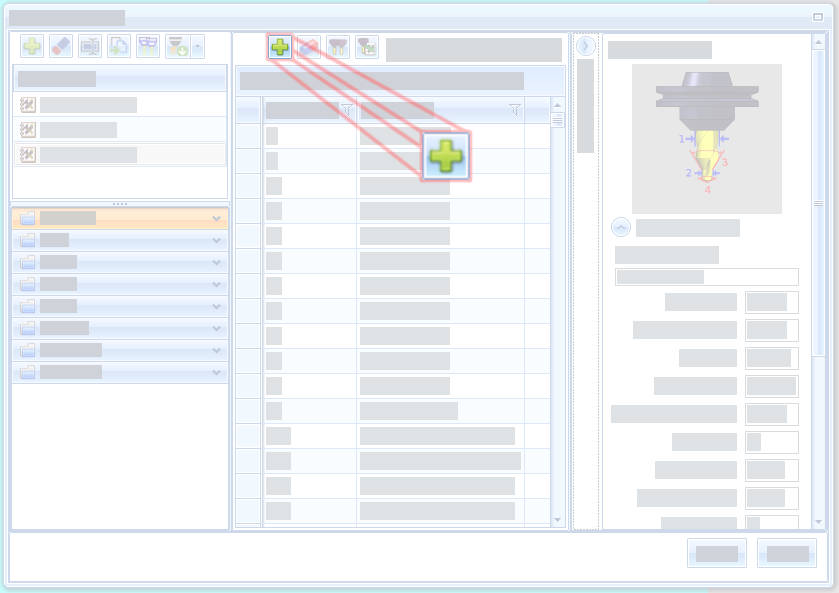
- Click the
 Add button.
A tool is added to the tool list and is automatically highlighted.
This tool is now in the Tool Parameter Dialog to allow for editing.
Editing a Tool
- With a tool in the Tool Grid View highlighted, click the chevron next to the Tool Parameter Dialog to automatically expand it.
You can also do this manually by hovering over the right side of the Tool Grid View and dragging it into position once the double headed arrow icon appears. - Edit the desired Tool Parameters.
- Select another tool in the Tool Grid View to update the edited tool data in the Tool Grid View, and to select another tool to edit.
- Repeat steps 2 & 3 as needed.
- With all tools edited as needed, click OK to exit the library and save the changes.
Note: If you wish to discard all the changes you have made since opening the Tool Library, click Cancel.
Deleting a Tool
To remove a tool from a particular library:
- Highlight the desired tool.
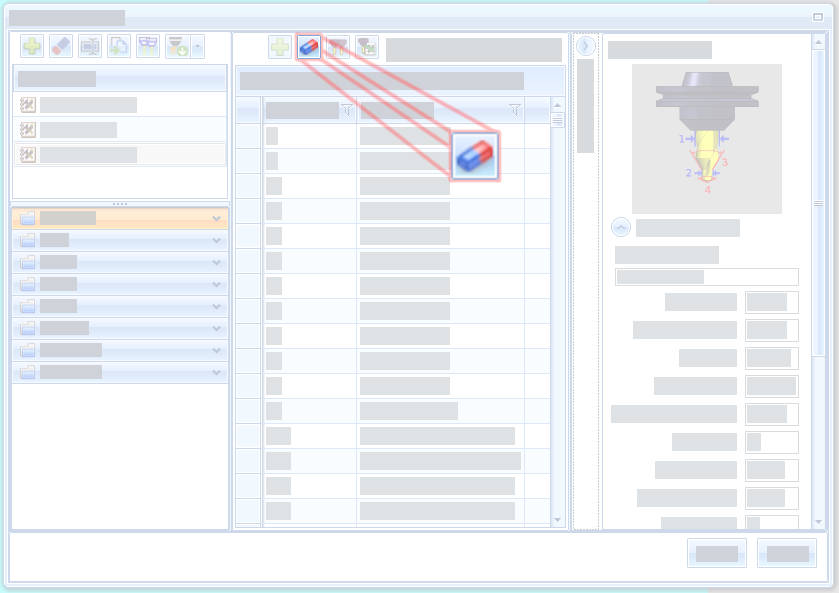
- Click the
 Delete button.
A message box appears asking: Are you sure you want to delete this tool? - Click Yes.
The tool is removed from the Tool Grid View.
Note: If you cancel out of the Tool Library, the deleted tool will be returned to the library.
Clone a Tool
To make a copy of an existing tool:
- Highlight the desired tool.
- Click the
 Clone button.
The tool is copied.
Copying Tools to Other Libraries
To make a copy of an existing tool, and place that copy into another library at the same time:
- Highlight the desired tool, or tools, to be copied.
- Click the
 Clone button.
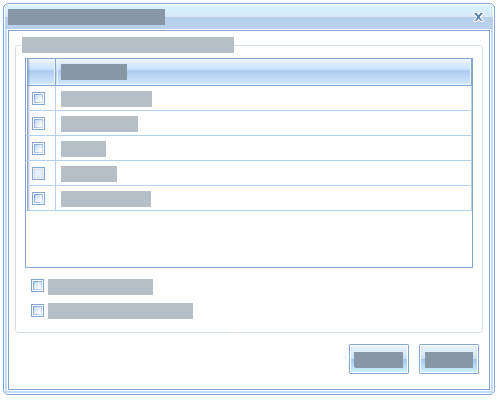
The Copy tools to other libraries dialog appears. - In the main list, select the libraries the original tool(s) should be copied to.
You can also select the Select/Unselect All check box to select or deselect all libraries at once. - Select, or keep clear, the Keep same tool number check box depending on whether the tools should maintain their tool numbers.
- Click OK to copy the selected tool(s) to all libraries selected in the Copy tools to other libraries dialog.
The tools are copied.
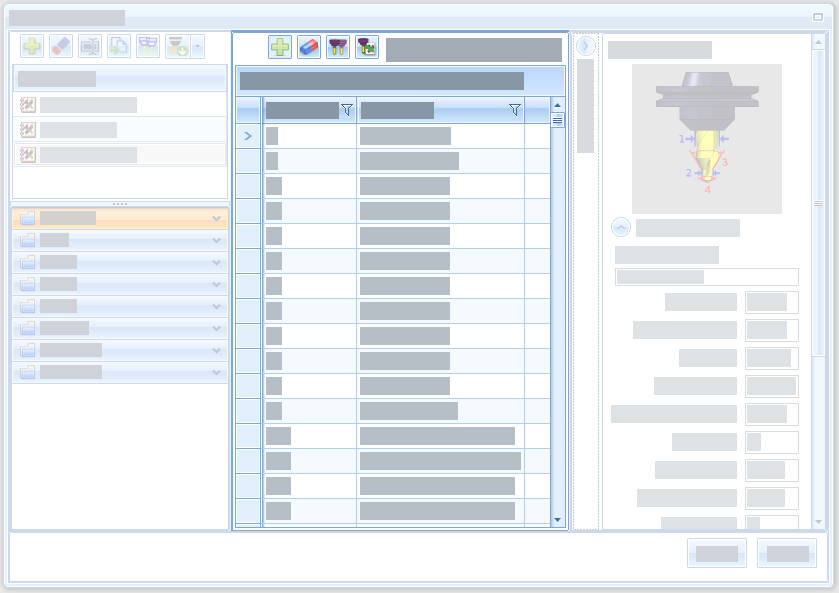
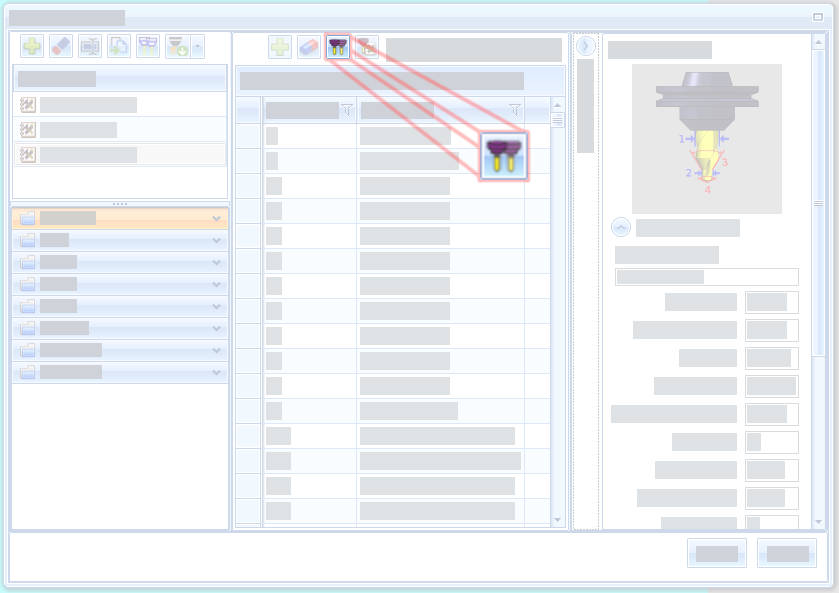
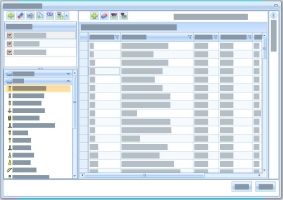
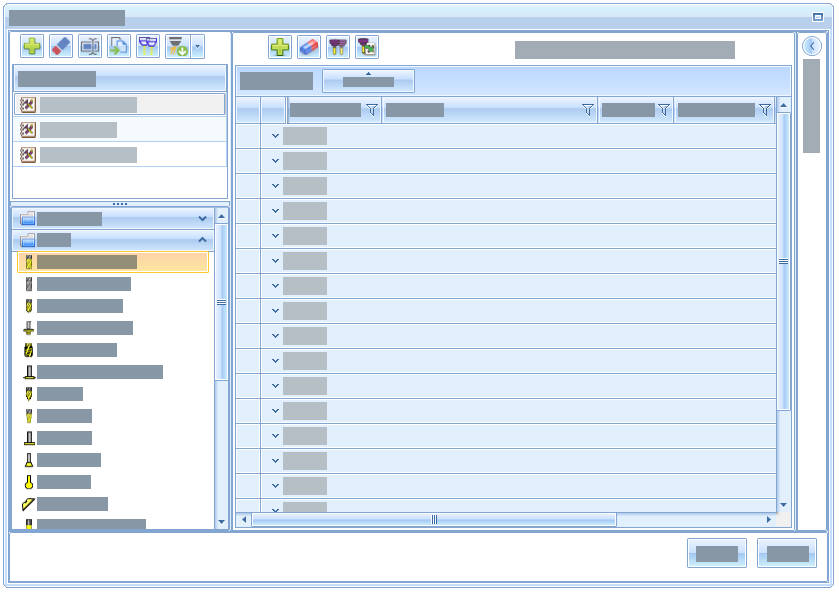
Grouping by Column
The column headers can be dragged up and dropped into the space above to group like items. When used, all like rows will be grouped together and collapsed.
- Highlight the header you would like to use to group your tools.

- Click and hold the left mouse button while you drag the header into the area just above.
- Release the mouse to group by that column.
All rows are not grouped by that header and collapsed. - To expand a particular row, click the arrow as seen in the images below.

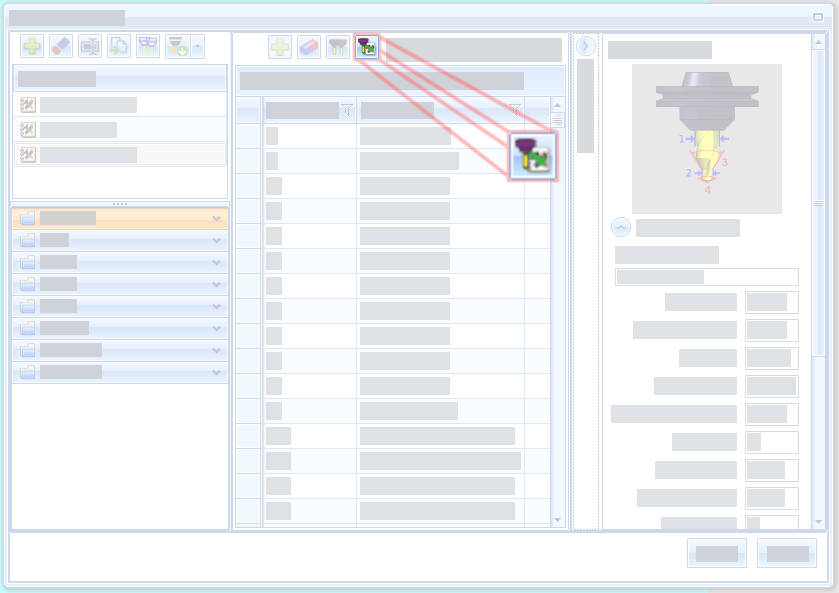
- To undo the grouping, hover over the header you dragged into the grouping area.

Notice the close button that appears on the header. - Click the close button to remove the grouping.


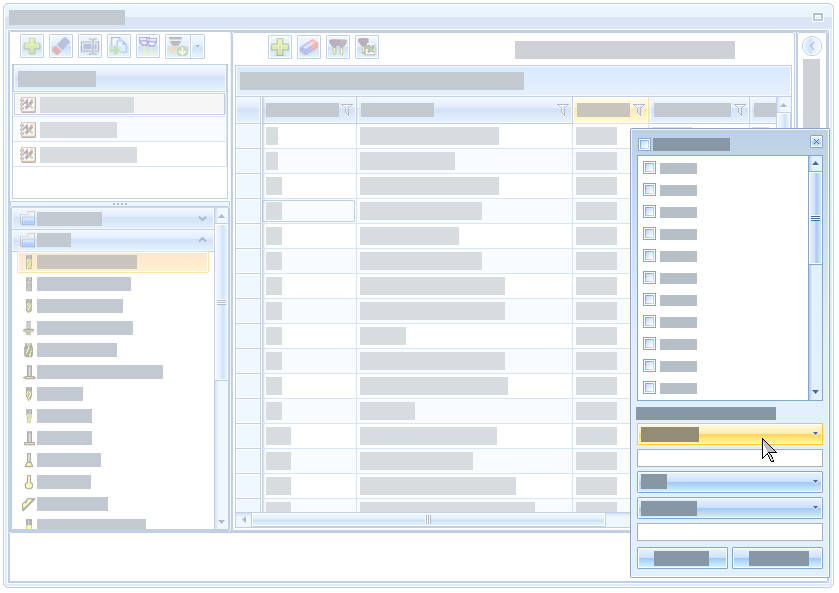
Filtering by Columns
The column information can be used to filter which tools appear in the list. Clicking the ![]() icon on a header opens the filter dialog which then lets you set select which rows to show, based on the rows you select, or the conditions you set. The available conditions can be seen in the table below:
icon on a header opens the filter dialog which then lets you set select which rows to show, based on the rows you select, or the conditions you set. The available conditions can be seen in the table below:
| Show rows with value that | ||
|---|---|---|
|
|
|
Tip: For this example, use the Diameter column of the Center Drill. Before beginning, sort the Diameter group from largest to smallest by clicking on the Diameter header.
- Hover over the
 filter icon in the desired header.
The hand icon appears.
- Click on the filter icon.
The filter dialog appears.
Tip: Selecting check boxes will hide all other rows in the column.
- Click the first drop down.

- Set the condition to Is less than.
With the value set, the drop down collapses. - Under the first drop down, click in the text field and enter 0.750, and press Enter.
The tool list updates. - Leave the second drop down set to And.
- Set the third drop down to Is greater than.
- Under the third drop down, click in the text field and enter 0.250, and press Enter.
The tool list updates.
In this case we have filtered the tool list to show tools that are less than 0.750, and greater than 0.250 diameter.
Note: Columns that allow for text, like the Tool Label column have the addition of the ![]() toggle next to the text field. This will allow you to specify whether capitalization matters in your filter. To test this, filter the Tool Label column and set the first condition to Contains and type spot in lowercase. Then turn the
toggle next to the text field. This will allow you to specify whether capitalization matters in your filter. To test this, filter the Tool Label column and set the first condition to Contains and type spot in lowercase. Then turn the ![]() toggle on and off. When the toggle is on, no tool labels containing an uppercase "spot" can be found. When the toggle is off, several tool labels containing the word "spot" can be found.
toggle on and off. When the toggle is on, no tool labels containing an uppercase "spot" can be found. When the toggle is off, several tool labels containing the word "spot" can be found.