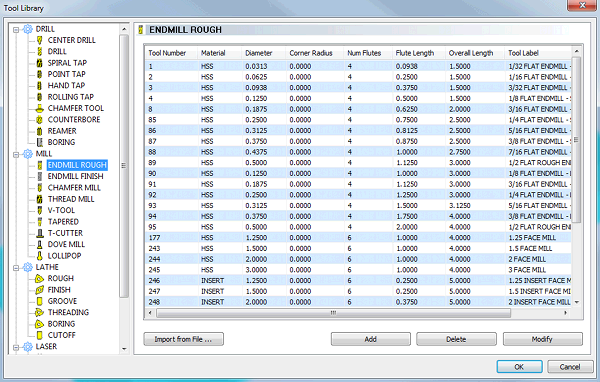
The Tool Library contains all of the available system tools based on the main categories Drill, Mill, Lathe, Laser, Plasma, and Waterjet. This dialog box is used to add, delete, and modify tools. You can also load tool information from a previously saved file. On the left side of the dialog box is a list of the supported tool types. The right side contains the tool parameters list for each tool.
Taking the time to create all of the tools in your shop can greatly speed up the process of creating milling features. You can then add the tools to the Tool Crib to quickly create the equivalent of the tool changer for each job. The Tool Crib tool list can be saved to a file for repeated use.
When you select a tool for a feature wizard operation, a specialized version the Tool Library, the Select Tool dialog box, is displayed. The Select Tool dialog box only displays the appropriate tool types based on the operation type.
To access the Tool Library, do one of the following:
This method is used to view, add, or modify tools in the Tool Library.
In the ![]() CAM
Tree, right-click
CAM
Tree, right-click ![]() Milling Tools or
Milling Tools or ![]() Turning Tools,
and click Tools.
Turning Tools,
and click Tools.
This opens the Tool Library showing only tools for the selected job type (Mill or Lathe).
In the Milling Tool Crib dialog box, click Add From Tool Library.
This method is used to add a tool from the Tool Library to the Tool Crib.
When you open the Tool Library, first expand the desired tool category on the left side of the dialog box. Next, select a tool type that you want to create or modify. You can then use the following options.
Import from File - displays the Open dialog box allowing you to navigate to and load a previously saved Tool Library file (.mtools or .ltools).
Add - opens the Create/Modify Tool dialog box allowing you to create a new tool of the selected Tool Type.
Delete - removes the selected tool.
Modify - opens the Create/Modify Tool dialog box allowing you to change the parameters of the selected tool.