Questions? Call Us to speak with a CAD CAM Pro!
BobART, your trusted companion in turning artistic visions into reality, can take things like signage to a whole new level. Why settle for mundane engraving when you have this powerhouse in your toolbox?
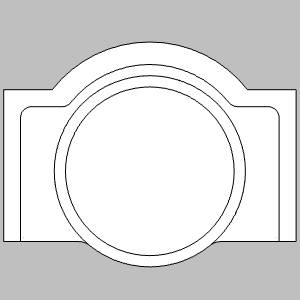
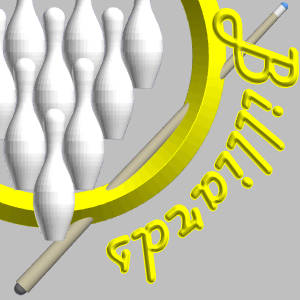
| Design without BobART |
Wireframe to Transform with BobART |
 |
 |
.
If you’re the type to slap an engrave on this sign and call it a day, go no further. Sure it’ll turn about as many heads as applying a neck-brace, but you’re done! Now, if you’re not the type to say ‘good enough’, then read on and see what you can do with a few simple BobART features!
.
1. Set the Canvas Size:
To begin, simply set the orientation, size, and location of the canvas. The size can be set with data entry, or by simply dragging the sides/corners into the desired size. You can also set the accuracy of the resolution, color, hide the unaffected area, or make it a solid!
.
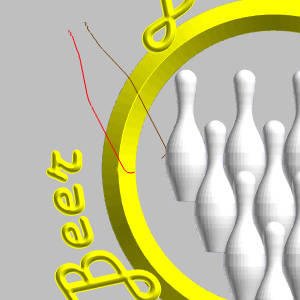
2. Emboss Swept:
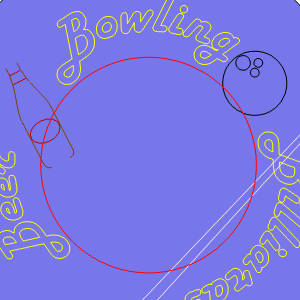
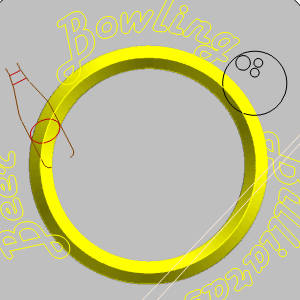
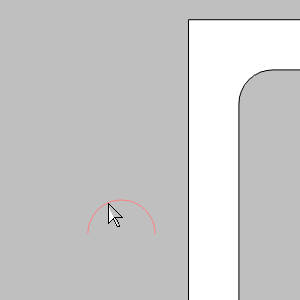
The Emboss Swept feature in BobART allows you to create intricate embossed shapes by sweeping a profile along a path. In this example, this feature is used to design the sign’s ring element. This tool is handy in a lot of situations, but is normally applied to open shapes, or closed shapes whose path should be affected, while leaving the rest untouched.
| Selected Geometry |
Result Using Line at an Angle |
 |
 |
.
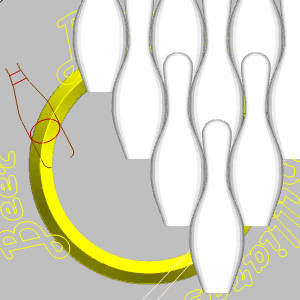
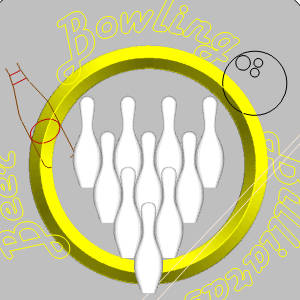
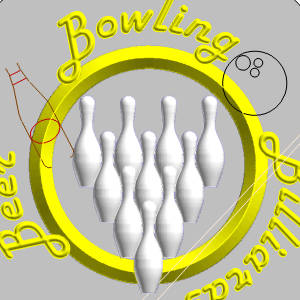
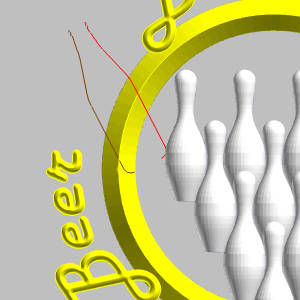
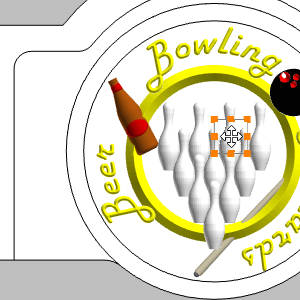
3. Emboss from Component:
The Emboss from Component feature lets you incorporate pre-made components into your design, such as STL files. This is particularly useful for adding detailed elements like bowling pins in this example. By utilizing existing 3D models, you can save time and add intricate details to your artwork, making your designs more dynamic and engaging.
| Resize and Position as Necessary |
Result |
 |
 |
.
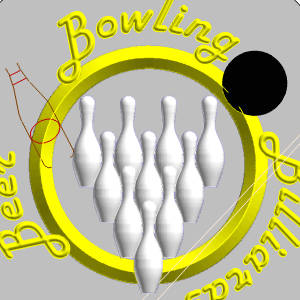
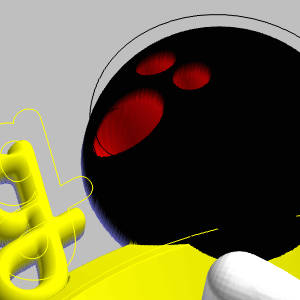
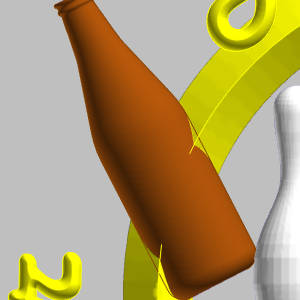
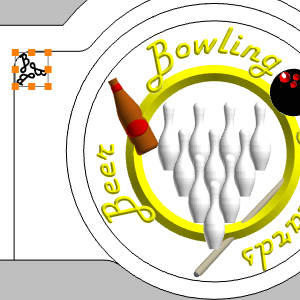
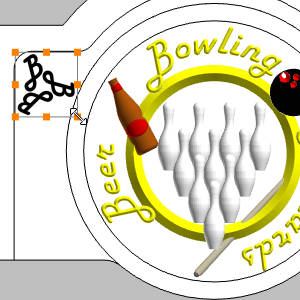
4. Emboss Regular:
The Emboss Regular feature in BobART allows you to create intricate embossed shapes by creating an impression of certain shape and height across a profile ensuring precision and depth control. In this example, this feature is used to design the text, ball, and finishing touches on the bottle. This tool is ideal for adding complex, raised details to your deigns, enhancing their visual appeal. This feature can be used a ton of different ways. Standard Lines, Arcs, Ellipses can be applied as convex, or concave, but you can even use customizable splines, or custom shapes. On top of all that, you can play with how these feature interact with others! Notice in the images below we can play with those Application Types until we find the option we want to go with.
| Result A |
Result B |
Result C |
Result |
 |
 |
 |
 |
.
| Emboss Regular Applied to Bowling Ball |
And Finger Holes |
 |
 |
.
5. Emboss 2 Rail Sweep:
The Emboss 2 Rail Sweep is a sleeping giant, but in this case is used in a pretty basic way. Here, we’ve only used a single cross section, as our intended result doesn’t really call for more, but this feature can have many different cross sections applied, can alter the way it transitions between them, and you can even set where along the rails the various cross sections should be applied. As if that weren’t enough, you can even set the cross sections to be applied using 3D Rails if the wireframe you’re using isn’t flat and the intention is to have the sweep follow the 3D Rails!
| First Rail |
Second Rail |
Cross Section |
Result |
 |
 |
 |
 |
.
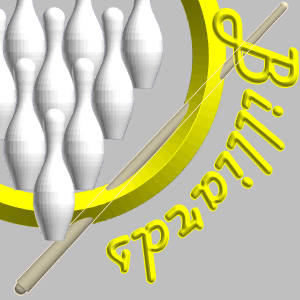
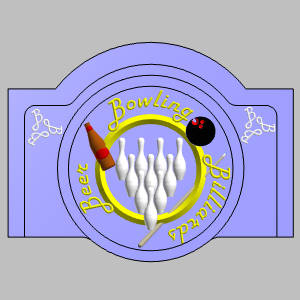
In this case, we wanted to be able to show the result as close to what the finished product would look like as possible, so we broke the cue into four separate features, one of each color!
| Pool Cue |
Realistic Pool Cue |
 |
 |
After that, we threw another couple Emboss Regulars on bottle to create the look of a labels, and we were almost done!
.
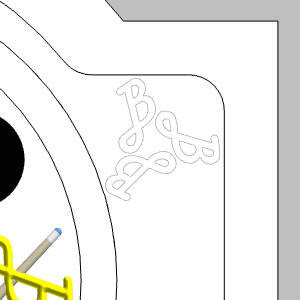
6. Loading Images to Vectorize:
Vectorizing images is a powerful feature in BobART that converts raster images into vector geometry. This process is essential for creating detailed and scalable designs, such as the logo in this example. By vectorizing your images, you can ensure that every element of your design is crisp and clear, regardless of the size. Simply load the image, move it into place and size as necessary. From there, just right-click the image in the BobART Tree, and select Vectorize.
| Load |
Place |
Size |
Vectorize |
 |
 |
 |
 |
.
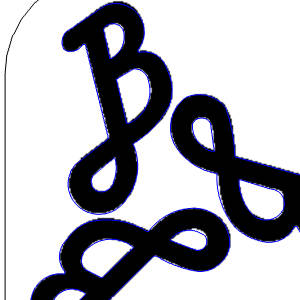
7. Save as Component:
Once we had the logo vectorized, it was simple enough to apply a little Emboss Regular. Once we did, we decided to save that feature as a Component/STL. This let us load that in to apply to the other side of the sign, but at the same time, we now have that component saved to quickly apply to any future project in any position and orientation! It just doesn’t get easier.
| Component Applied to Other Side |
Finished Project |
 |
 |
.
Conclusion
BobART is packed with powerful features that can transform your designs from ordinary to extraordinary. From utilizing advanced embossing techniques, and vectorizing images to saving components for future use, BobART provides all the tools you need to bring your artistic vision to life. Whether you’re creating detailed signage or intricate designs, BobART makes the process efficient and precise, allowing you to focus on creativity. Dive into BobART and see how you can elevate your projects to new heights.
Follow along with the tutorial here: Bowling Sign Tutorial
Questions? Call Us to speak with a CAD CAM Pro!
F.