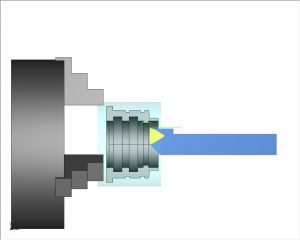
Tech Tuesday is a weekly blog that addresses some of the most common questions and concerns that I hear throughout the previous week from users of BobCAD’s CAM software. Both customers and future customers are more than welcome to leave a comment on what they would like to see covered for the following Tech Tuesday.
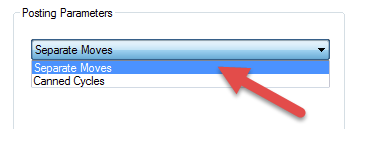
Do you struggle when calculating thread depths for single point threading? You wouldn’t be alone, CAD-CAM vendors calculate threads differently and it can be confusing. This is why we created today’s Tech Tuesday. Keep in mind BobCAD supports both G76 and G32 cycles. Choose your posting method from the posting tab in the thread wizard.
When BobCAD calculates thread height, what is it based on?
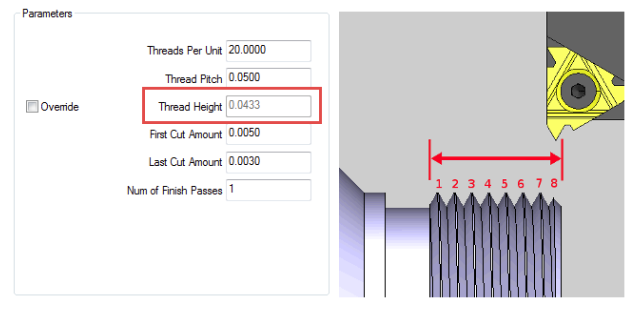
You’ll notice that the thread height is calculated automatically for you and it’s grayed out.
We use this formula to calculate the thread height.
0.5*p/tan(a) or in another format, (0.5*cot(a))/tpi
(a = half of thread angle)
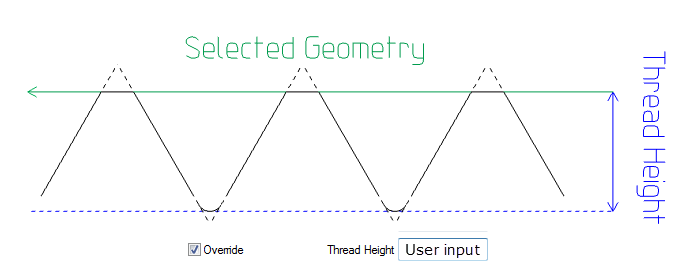
This calculation is based on the full triangle height of a given thread.
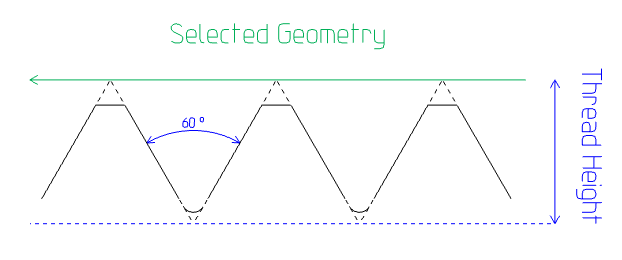
*The calculated thread height is intended to give a generic calculation based on the thread angle and theoretical points.
What does this mean?
Due to different thread types and applications requiring different formulas, BobCAD uses a standard calculation to apply the entered thread height as the maximum triangle height (shown in the above image). Using the calculated thread height, your thread depth will be incorrect.
*It is the user’s responsibility to override the Thread Height value, entering a value that will result in the appropriate Thread Depth to be created for the user’s application.
Subscribe to BobCAD-CAM's Tech Tuesday Blog
Join your fellow machinists. Get the latest Tech Tuesday CAD-CAM articles sent to your inbox. Enter your email below:
Can the thread height be used as the thread depth?
Yes, if you select the crest diameter of the thread as your selected geometry. From there you’ll use the thread height as the thread depth. Based on your calculations, you’ll input the proper depth to cut your thread to size.
Takeaways:
1.) The calculated thread height is based on theoretical points and is not intended to be used as the thread depth.
2.) The user is responsible for calculating the proper thread depth based on the type and class thread they intend to program.
3.) To use the thread height as the thread depth, the selected geometry should be based on the crest diameter of the thread you are programming.
There you have it! Now you should have a much better understanding on how to calculate and achieve the correct thread height in single point threading. Thanks again for reading another Tech Tuesday, see you next week.
Start your Test Drive.
Have questions? Call us at 877-838-1275.
You’re one click away from subscribing to BobCAD’s YouTube channel. Click the link below for tips, how-tos and much more!